Home Improvement:


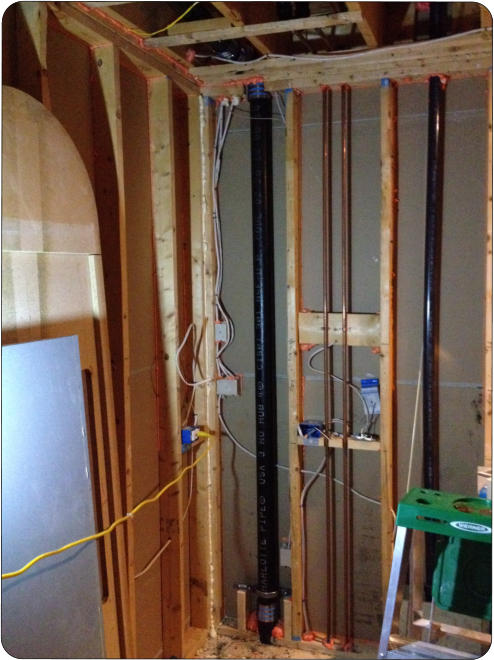
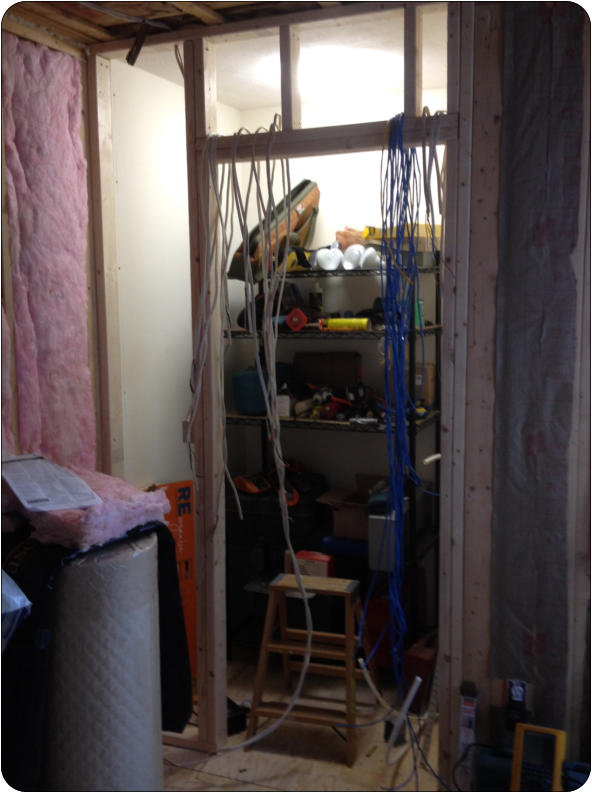
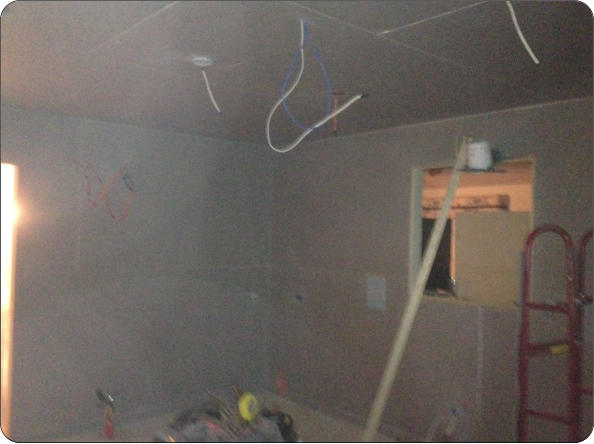
Here’s an example. On the left is the back of the
dining room drywall and straight ahead if the back of
the family room. The big black pipe is a soil pipe to
the upstairs bathroom. It used to be ABS - the
lightest and loudest to code in this area. Gutting the
room meant that we could replace that section with
cast iron and quiet down those upstairs toilet
flushes. Installing insulation everywhere around the
room also cuts the noise transmission. And finally,
we found some interesting ways where air coming
through the recessed lighting could (easily) pass
through to a vented attic above part of the kitchen.
This is the chance to properly air seal everything - at
least in this room.
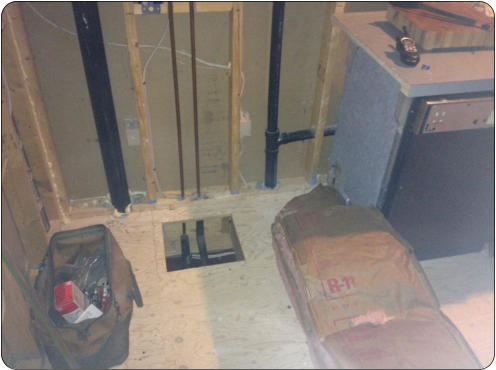
This is much of the drop ceiling in the basement that
needed to come down in order to make the
plumbing and electrical changes for the kitchen. We
needed a few more circuits, another sink supply and
drain, and plenty of other cat-6 and audio cabling.
Note the piece of subfloor cut out. This was to get
access to a pipe that used to have the refrigerator
ice maker tapped off of it. The Fein Multimaster lets
you plunge cut like this and replace the same
plywood back with some extra joist work.
Inside the Walls
Gutted!
Once you rip down the drywall and plaster at the
beginning of a rehab, you’re struck by how
advantageous it is to do any wiring and insulation
and air sealing at the same time.


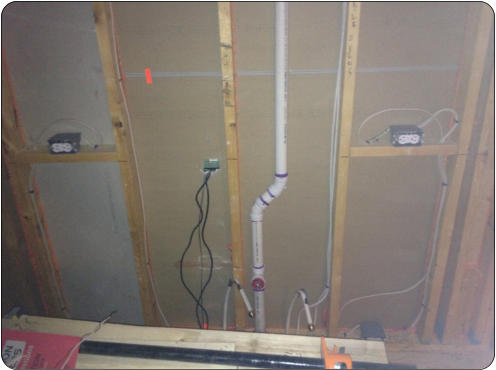
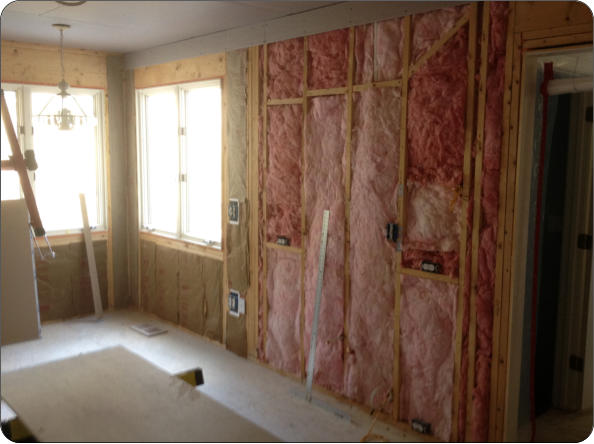
Here’s a wall behind a future sink location. We put
in a new drain/vent as well as ran the supply using
Pex. The horizontal outlets are in the future
backsplash
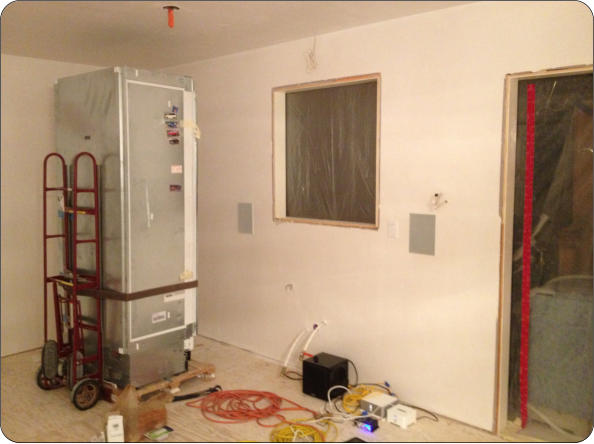
One corner of the refrigerator nook opened to a
ductwork chase adjacent to the Living room. This
was the chance to run some extra cat6 cables to the
living room. Using baluns, we can pipe the high def
video from the living room to the kitchen TV.

What was an alcove, was framed into a pantry.
During construction, this was also the tool closet.
Very convenient!
.And since we had access to the dining, room, we
could run audio to a new pair of in-wall speakers.
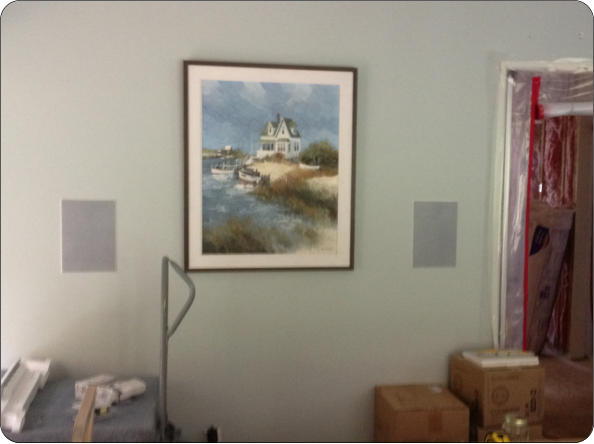
You can see the effect in the background of this
picture. The framing in the picture at left forms the
continuation of the hallway into the kitchen. Then
the Sapele surround for the fridge is only 12” deep
and winds up looking like a big shallow pantry.
Without drywall, we suddenly had at least some access to inside the walls of our laundry room, stairway, half-bath,
living room, dining room and family room, and a bathroom and bedroom upstairs. Now was clearly the time to wire
for whole-house audio, make electrical and plumbing changes, etc
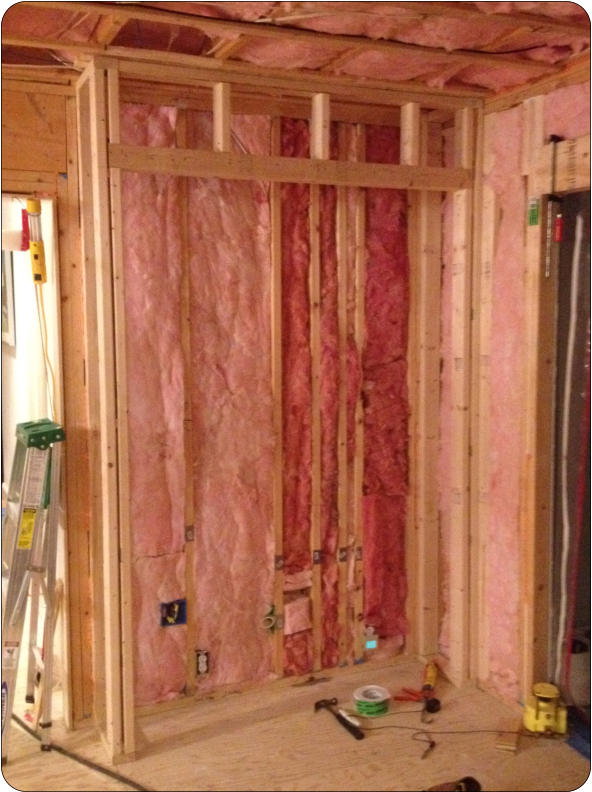
In this corner, we framed out a new wall that visually
makes the refrigerator have 13” less depth.

All walls and ceiling were insulated in order to cut
down noise transmission to adjoining rooms.
This is a handy device for one-person drywall
hanging. Usually available on sale at Harbor
Freight for $200.
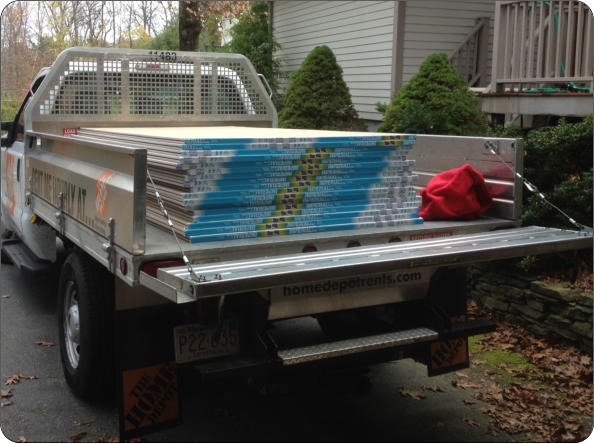
ITime to drywall. In this case we want to use veneer
plaster and so this is “blueboard” which has special
multiple paper surfaces to bond with the plaster without
drawing too much moisture and weakening the plaster..

The one thing that I farmed out was the plastering. I
really wanted to learn this since I’m a pretty good
slim-coater, but my first experiment made it clear
that I’d need a few days practice to get something
acceptable. Instead, I spent the money, went on a
short business trip, and came back to this
perfection.
Tough to see in this terrible camera phone picture, but
every joint in the drywall was caulked for air sealing
before the taping and plastering. electrical boxes were
taped with Siga Rissan tape inside the walls (not in the
box) where wires come out. And the place in the
ceiling where there’s a transition to an attic was
detailed with spray foam to disallow air from the inside
to that attic.