Home Improvement:


Panel Saw
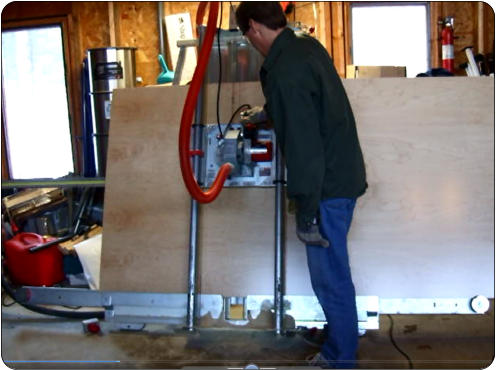
Knowing that it was going to be next-to-impossible to get all that plywood down the stairs to the basement and relatively dangerous to put full sheets through the tablesaw, we set out on New Year’s Day, 2009 to pick up a used panel saw. These make perfect vertical and horizontal cuts. You’ve seen it at Home Depot, I’m sure.Cabinet Parts
Armed with an Excel Spreadsheet with rows for every cabinet and columns calculating the measurements for each plywood part, the sheets are cut down into oversized pieces and labeled. The cuts in each sheet are optimized by using a cutlist program. This saved a lot of wasted wood.Solid Maple Edging
Looking closely at the finished cabinet below, you’ll NOT notice the edges of the plywood. That’s because all plywood edges must be finished with a strip of solid wood to hide the plies. Although there are easier ways to do this (such as that cheesy iron- on veneer), I opted to rout in strip of keyed solid maple.Cabinet Construction
Easy, but requires
planning, discipline and
tools!
If you are even thinking about building your own
cabinets, get this book. Robert Lang’s Complete
Kitchen Cabinet Maker is the reference. Don’t start
buying any tools or wood until you’ve read the whole
thing. It’ll save you so much!
Of course, you might decide to just buy those
cabinets that come in flat boxes instead.


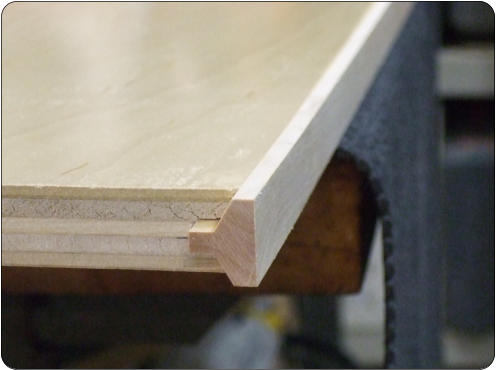
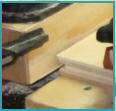
Both the strips and plywood recessed are made on
the shaper using matching cutters that have
reversed patterns from each other. Here we see a
panel attached to a plywood shop-made jig going
through the shaper. You can’t see the cutter, but
you can see the resulting profile on the plywood.
The strips are then glued in.
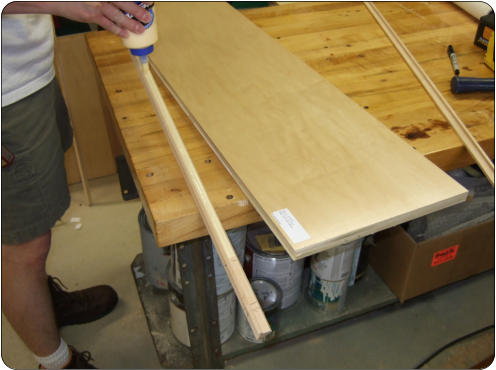
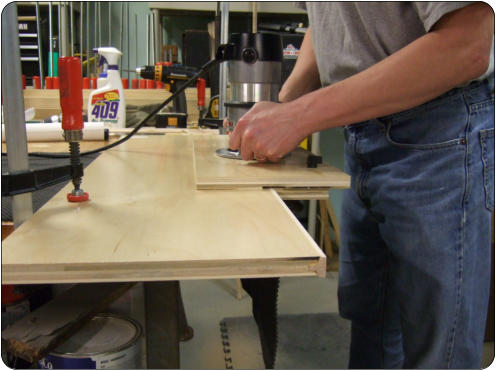
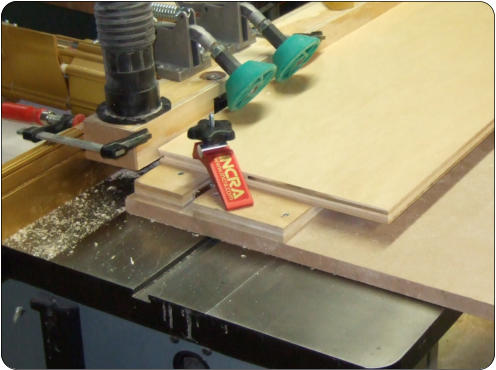
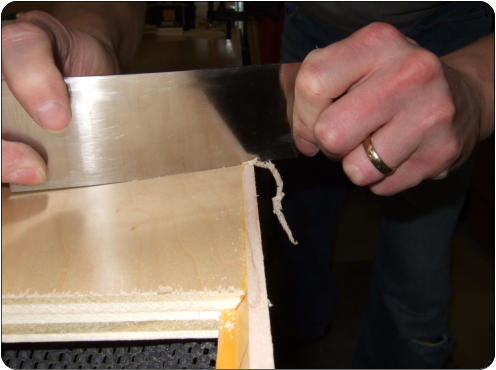
After curing, a router jig is used to trim the part of
the maple strip that sticks above the plywood face.


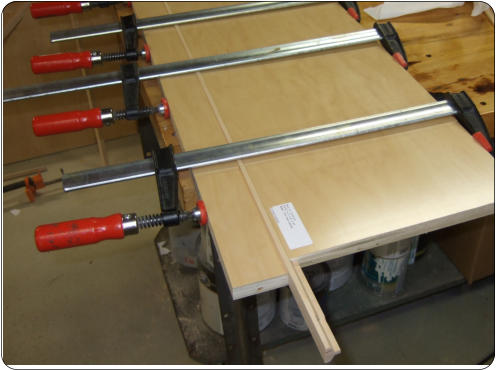
The strips are then glued in.
...and clamped
Assembly
Since consistency is so important, jigs are used everywhere in cabinet construction. For instance, I’m drilling holes in a cabinet side that will ultimately be used to hold up adjustable shelves. It’s OK if the holes are off, as long as it’s consistent with the other side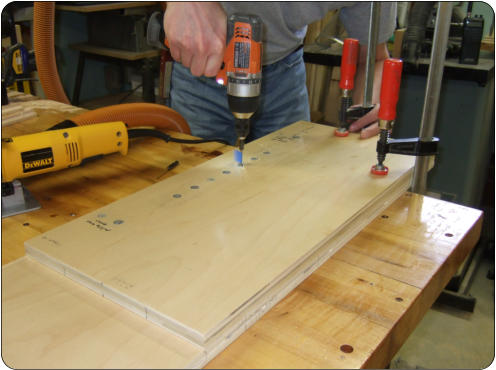
In this case, the same jig is used for cutting biscuit
slots that will align a stationary top shelf in the
oversized upper wall cabinets.
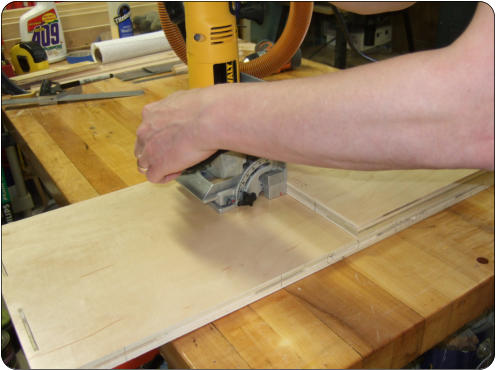
Consistency!
Sometimes when putting glue in buiscuit slots, you
wind up with too much glue to clean up after
assembly. The Lamello gluing tool made it much
more predictable.
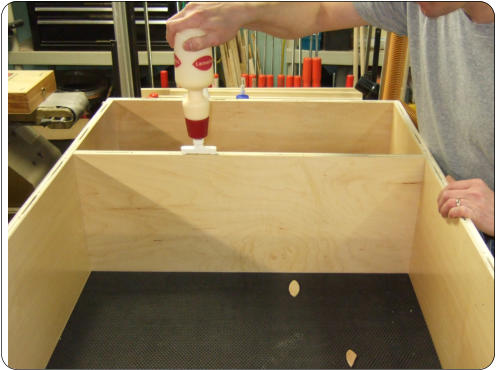
Screws on each side of the biscuit slot apply
clamping pressure to the final assembly.

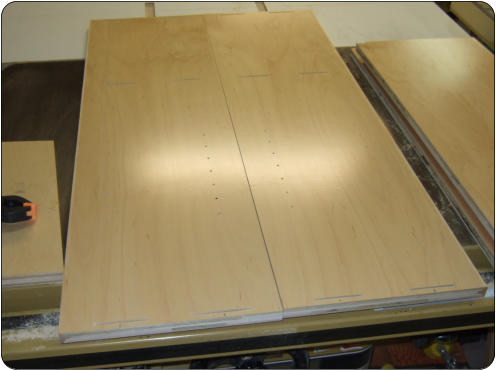
After a huge amount of planning, CAD modeling, and Excel work, we had 27 sheets of 3/4” prefinished Maple
plywood delivered from Boulter Plywood in Massachusetts. If you own a sailboat in New England, you probably
already know the place.
The idea with the prefinished was that this would cut down on the amount of spray finishing to do after assembly.
It was mostly a good choice, but scratches from running the wood through the shop are not easily fixable.