
Home Improvement:


Large-Format Tile
Floor
FInally after flattening the floor, we are able to put
down the Ditra crack-isolation membrane and 12 X
24 inch floor tiles. Because the tiles are so large, I
was worried about “lippage” - where a tile is
noticably higher than an adjacent tile. To eliminate
that, we used something called the “Tuscan
Leveling System”.

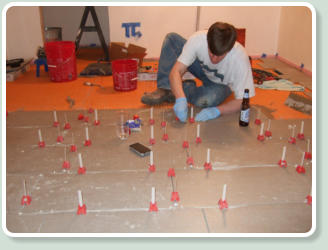
The Tuscan Leveling System pieces are seen here.
There’s a white plastic “T-strap” and a red plastic
reusable cap that are put on with a special tool to
create a tension that pulls adjacent tiles into vertical
alignment.
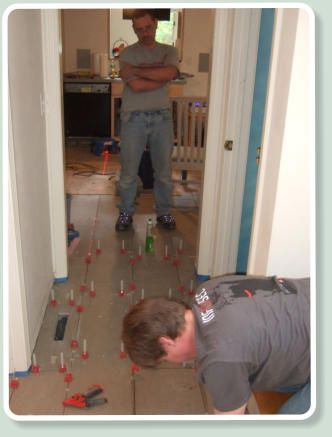
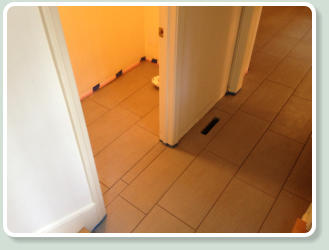
...and into the half-bath. Note the threshold of cut
tile that makes the pattern centered in the bath.
One of the joints running with the threshold will be a
“soft joint” of matching caulk instead of grout so that
the floor can have some minor movement without
cracking.

Hasty escape by Ruby over the ungrouted tile floor
down the hall...
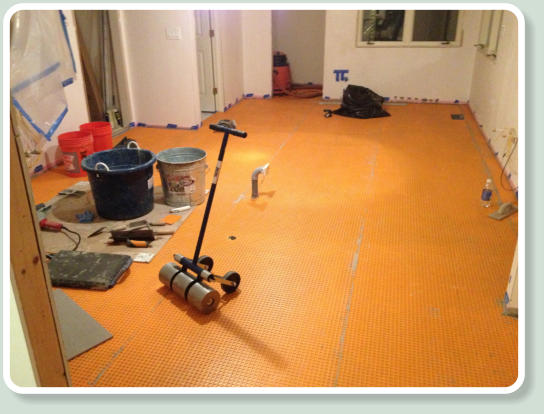
First step is to put down the Ditra from Schluter Systems. This crack-isolation membrane works by forming
columns of mortar that support the tile, but allow some small amount of lateral movement so that the tile doesn’t
crack when the floor underneath shifts.
Installation is as simple as cutting with a utility knife, embedding in a fresh layer of thinset, and then rolling it with
a rental linoleum roller makes it pretty foolproof.
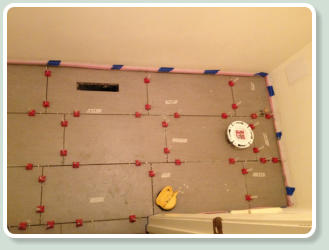
To the left, you can see one of the right angle floor
lasers that we used to maintain consistent joints
down the hallway and across the whole kitchen.
These right angle lasers are an absolute must have
for DIY tiling.
Above is the hallway half-bath after fitting in all
those tiles that Joe (Shown standing in the left
picture) had cut and labeled. Two people made this
way less tedious.

Next step is grouting and we had selected a
cementitious dark grout made by Tec. Above is how
it looked before removing the residue in the final
wash. The result was blotchy. There were areas
that were practically white. Maybe I washed the
pigment particles out?
If you tension too hard, the strap breaks, so it takes
a certain amount of getting used to .
Whatever was the cause, it was unacceptable. We
ripped it all out in a few hours with a Fein
multimaster. It’s painful to undo progress, but it was
a great move.

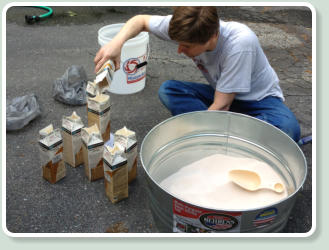
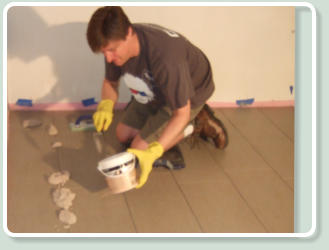
Instead, we decided to go with an epoxy grout from
Laticrete called Spectralock. In this picture, I’m
mixing all of the needed powder parts together in
order to get complete color uniformity across all of
the batches. Then I’ll scoop them back into the
cartons while weighing to be sure that I have
consistent results.

Each of these cartons must be added to a another
coupld of liquids to make a taffy-like grout that
needs to be forced into the joints.
Once mixed, you get about 20 minutes to use the
grout as it is on a one-way trip to hardening. Mixing
it periodically does nothing to elongate the working
time like it would with cement-based grout.
This is really hard work!
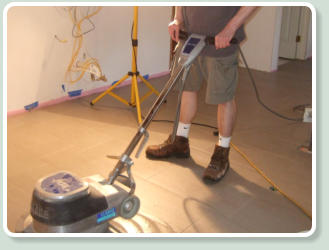
After an initial washing and cure, we used a floor
machine (handy!) to scrub the last traces of epoxy
from the tile faces.
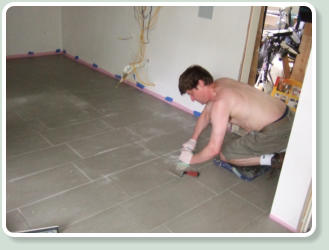
The hard work pays off with perfect results and no detectable transition between batches. I could do abut
50 square feet a night and the resulting floor looks as if done professionally in one shot. The fact that we
have a stain-proof kitchen floor is a bonus.
I don’t know why I didn;’t take any pictures of putting the Ditra down, although it was particularly exciting.
We used a non-modified mortar since plywood bonding is not needed. The 75 pound linoleum roller is in
the foreground and it made a real difference in getting full contact of the fleece lining of the Ditra into the
fresh mortar.
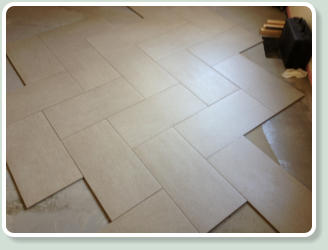

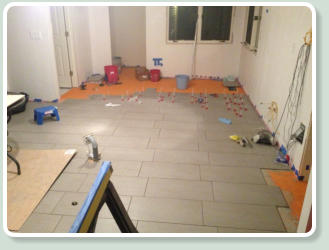
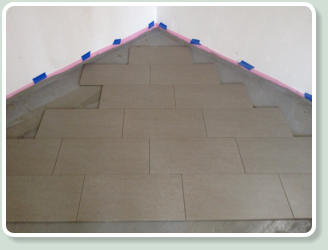
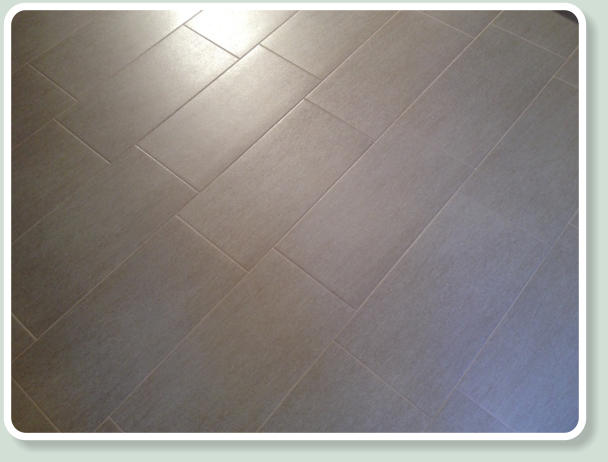
We had evaluated several alternative patterns and orientations for the 12 by 24 inch tile. In the end, we
decided that the “staggered” approach in the bottom right picture above was the best. If we put it down
across the width of the kitchen, it magically lined up with the two aisles on either side of the island.
