 |
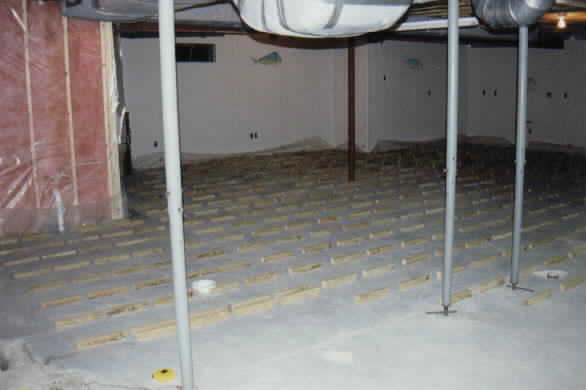
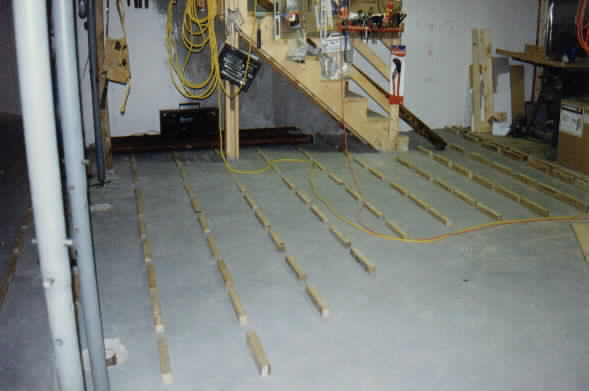
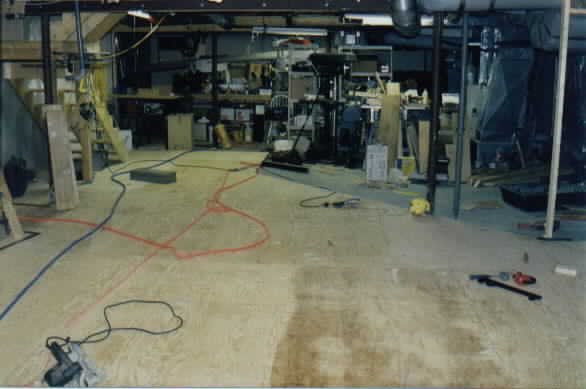
First and foremost, the "sleepers". The problem with simply
attaching the subfloor to the concrete was that any basement gets wet eventually
and this moisture needs air circulation to dry quickly. In addition, you
can imagine the heartache of seeing a hardwood floor underwater. Because
the concrete slab was not level (3 inches from crest to valley), the raising of
the floor would give me an opportunity to create a level surface just begging
for a pool table. My plan was to lay out and custom cut hundreds of
12" pressure-treated 2X4s laying on their sides as shown in the images to
the left: (click to enlarge) |
 |
Click here for Wood
"Sleeper" Construction Details page.
It seems like this would be more time consuming than it was, but this project
was the only one that actually went faster than expected - only about three full
days. The link above tells the story of how I streamlined this process
greatly. |
|
|
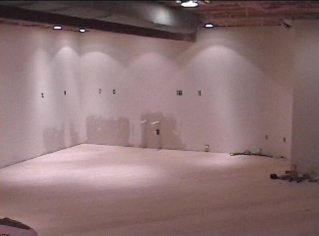
Next, is the plywood subfloor. This was relatively straightforward -
using glue and nails to fasten the panels on top of the sleepers.
Here is a shot of the finished subfloor. You can see
the boundaries of the room start to come into view. The diagonal
part on the right is the wall where the grouper is now. Note also
the use of the rotary laser level (yellow) on its side to mark the floor
and ceiling for where that wall will be. Click the image to see this
diagonal wall at drastically different times.
|
 |
Click here for the Hardwood
Flooring page.
Next came the Birdseye Maple hardwood floor. This was
a tremendous amount of work at each stage. Even laying out which
boards go where was a job - Thanks, dad for accomplishing this so I could
follow behind with the flooring nailer!
|
 |
Click here for the Curved
Border section.
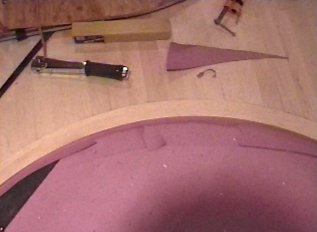
Of special note is the curved hardwood border that separates
the carpeted TV area from the rest of the room. The two curved parts
are made of maple floor cut up into thin segments and glued up in the
desired curve. The photo at left shows the segments being laid out
before the gluing and clamping in the curved jig |
|
 |
Sanding
and Finishing Details
Sanding should have been easy compared to laying the floor, but it definitely
wasn't! The results are quite rewarding, though.
|
|
|
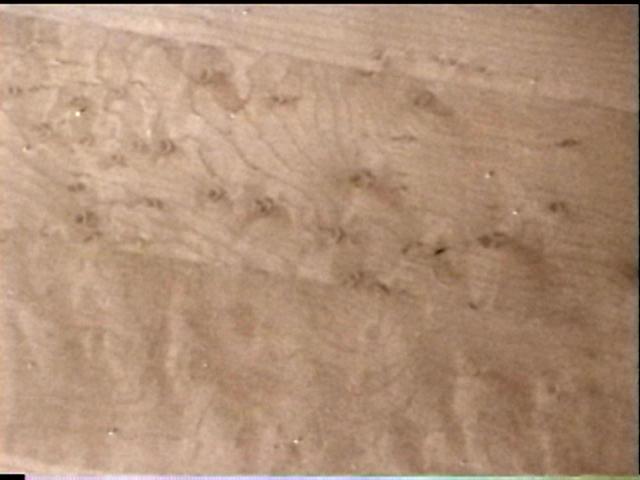
here's a close-up of what birdseye maple looks like.
The figure is extremely striking (especially for 600 Sq Feet of floor!)
and looks particularly good under halogen lights. I selected this
because it has an organic "sandy bottom" look that goes much
better with an underwater theme than Oak. |
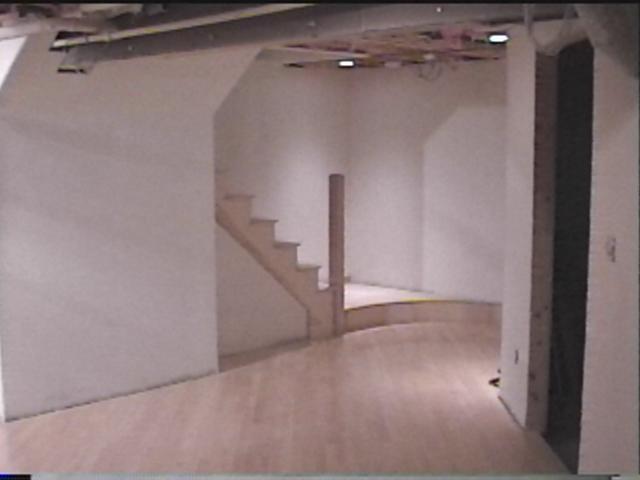 |
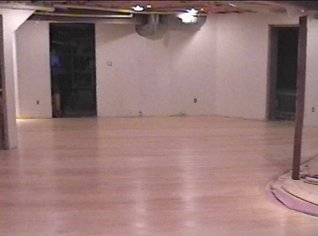
Curved Landing Details
Another interesting visual feature was the curved landing at
the bottom of the staircase. I included this picture here because it
is one of only a few newly finished floor pictures. The picture is a
hyperlink to the full image. |
 |
Now (7/17/00) the carpet is in! The
contrast with the hardwood really brings out the curved border. Note
the attraction that the cat has to this insanely deep pile that resembles
sea grass. The picture is a
hyperlink to the full image. |