 |
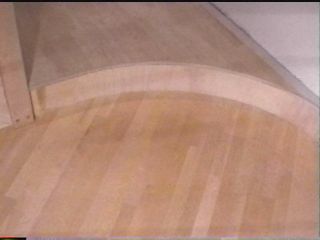
This is the curved landing in its finished
state. Notice the curved wooden riser and the fact that the edge
overhang is a perfectly smooth round over with no end grain showing.
There's actually a "nosing" installed at the end of all those
floor boards. |
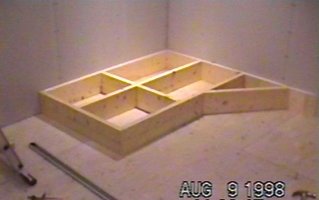 |
It starts with a basic platform that will
support the weight of the entire lower staircase and form a solid mount
for the newel and balustrade. |
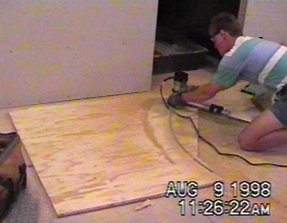 |
To create the curved subfloor to top the
platform, I am cutting the edge using a router mounted to a 36"
compass arm. This technique was used in many places around Atlantis,
and we'll see it in use again later on in this page. |
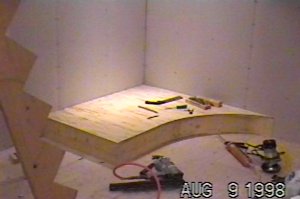 |
Here's the platform waiting for the curved
wooden riser. |
 |
I had no idea how we were going to do this,
but Brenda found this plywood at a local lumber yard called "Wacky
Wood". This stuff bends so easily, that we rolled the 4X8 sheet
into a large tube to get it home. In the piece at left, it is
curving under its own weight. The thickness is 3/8", so I used
two thicknesses to form the riser. |
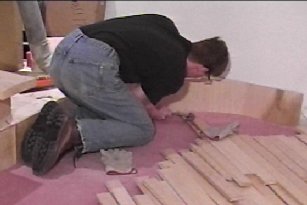 |
...Nailing the riser in before the flooring
goes in... |
 |
And we're done. I used many
nails at the extreme top and bottom of riser. The nails at the top
are hidden by the flooring overhang... |
 |
...And the nails at the bottom are covered by
flooring. |
 |
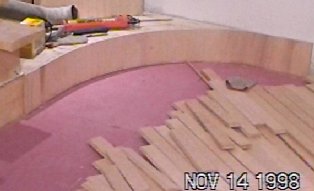
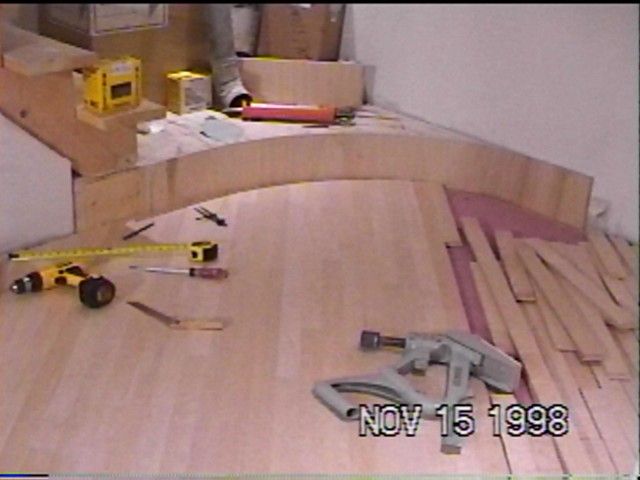
Now the platform is floored and roughly cut
at its ends for the curve. |
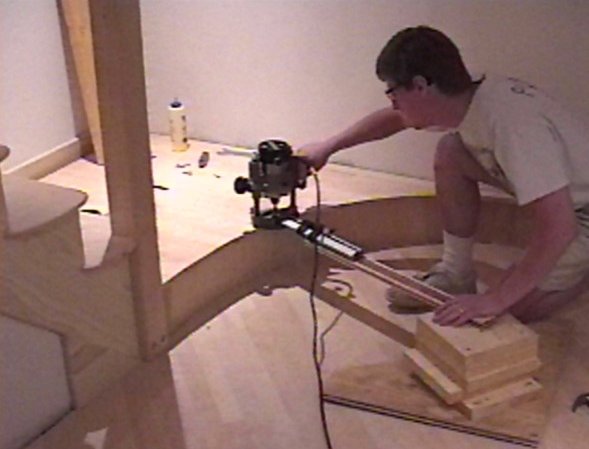 |
Here's that routing technique again.
The platform that forms the anchor for the compass pivot is nailed into
the freshly laid floor, but all nail holes will disappear before
finishing. |
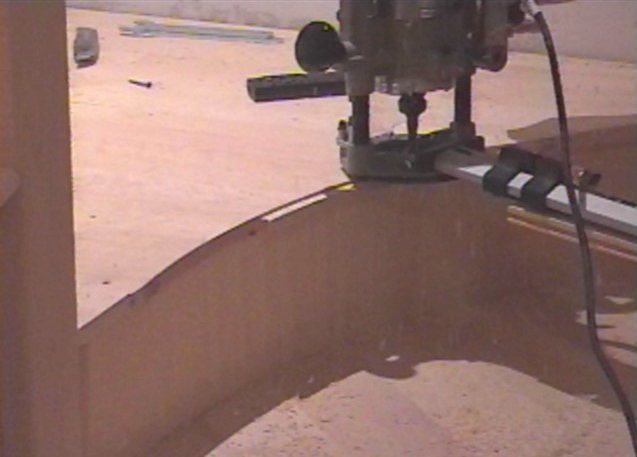 |
The first couple of passes are used to cut a
smooth curve. |
 |
The last pass was used to cut a groove (as in
"tongue and groove") into the end-grain of the flooring that
will receive the curved, tongued, nosing. |
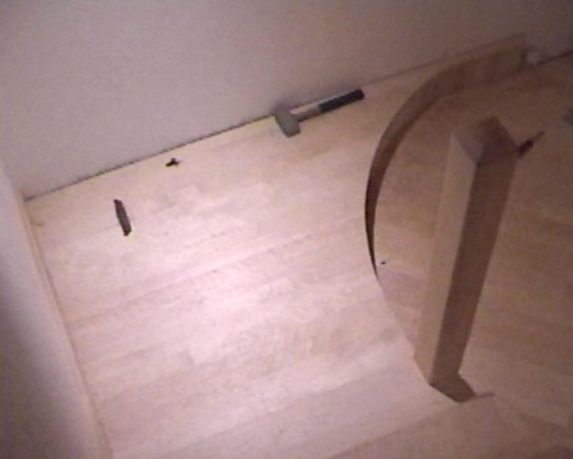 |
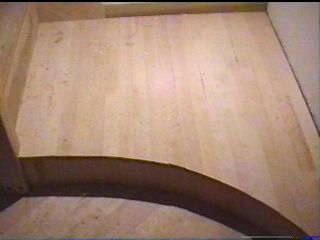
This is the platform before the nosing
installation. (Click for enlargement) |
 |
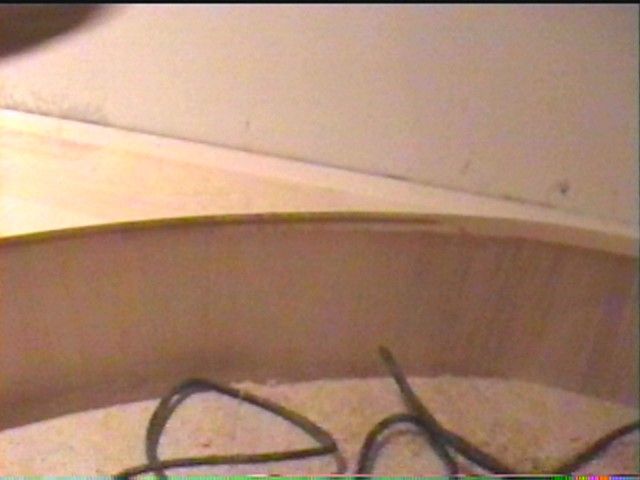
and here is the nosing. Take a good
look at this. It is 3/4" thick, and about 1" deep.
The 1/4" on the left side is a segmented tongue that will fit into the grooved platform
flooring. The other side is a complete bullnose rounding. The
entire five foot length is curved on a 36" radius. This thing
deserves its own web page, but I have no additional images of how I made
it. Here's the synopsis: Cut the tongue into the edge of a 6" board
and segment it. Rip the board so that only the tongued 1"
section remains. The difficulty now is running such a thin board
through a shaper to put the bullnose on. The secret is to use a
grooved carrier board to hold the tongue as it goes through the shaper. |
 |
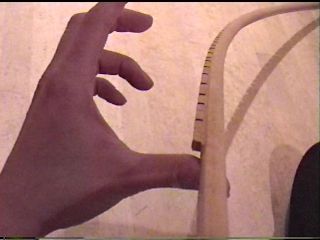
The strip was then bent over the course of a
week by putting it in a flexible pipe full of water and continually
applying bending pressure. It took another week to dry the bent
nosing out enough for the tongue to fit in the groove. Here we are
hammering it in with some glue. From the picture it looks like
I killed a fly in the process. |
 |
Starting at the newel and working out, the
nosing looks great as the gap is closed. It took a lot of hammering. |
|
|
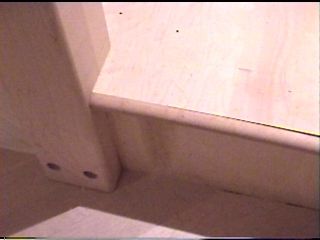
But the result looks effortless. What a
shame I have to point this stuff out. By the way, those two holes at the bottom of the newel where the lag
screws go are shown covered in the newel section. |