
Unfortunately, The ceilings were something of an afterthought. Clearly
I should've done the ceilings before I put in all of that expensive
hardwood. But then I had no idea that I would arrive at this point
.
The problem with that I wanted to solve with the choice of ceiling material
was (beside the obvious) to preserve the better acoustics that we had with
exposed floor joists stuffed with insulation. Once I put drywall over all
of that it would create a room that is too "live" for a serious
stereo, TV, party, etc... I could go with acoustic ceiling tile, but I
didn't want to lose too much height and I hate seeing those ceiling grids!
In retrospect, an acoustical covering over drywall probably would've been a good
choice, but instead I found a ceiling tile that hid the grid, and a clip that
left height loss minimal. Now the only problem was to finish the
protruding beams and duct work to make it less ugly.
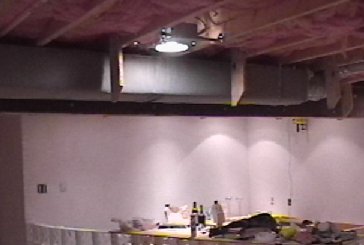 |
To box in the beams/ductwork, I opted for a
technique creating a plywood rib skeleton, and then framed between the
ribs with toenailed 2x4s. |
 |
By the time all of the 2X4s are added, there
is plenty of wood to form the backing for nailing the cornerbead on to
create the same rounded bullnose corners that are everywhere in
Atlantis. You can just about see a couple of the 2x4s start to fill
in at left. |
 |
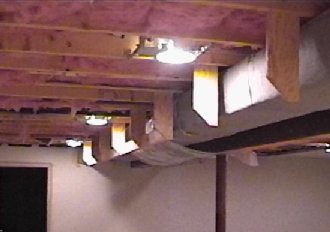
Here's the ductwork on the diagonal
wall. It was a bit more complicated, requiring not only the
plywood skeleton, but also a plywood box. This took a lot of staring
to put up. |
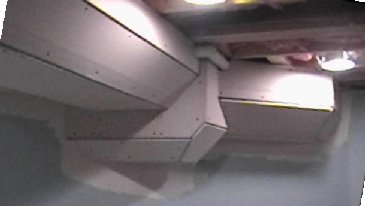 |
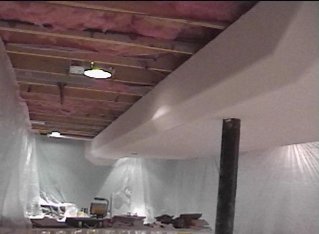
Ultimately this is all covered in drywall and
it is already starting to look better. |
 |
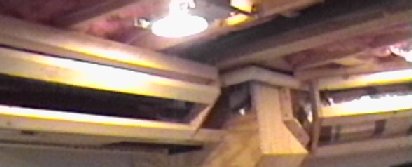
Now the cornerbead gets nailed in. This
is why it was important to have all of that wood. The cornerbead is
plastic and can be bent to form 45 degree corners (instead of the
preformed 90 degree) if there is something solid to nail it into. |
 |
After the cornerbead is smoothed over with
joint compound and sanded, it looks quite natural and with no sharp edges. |
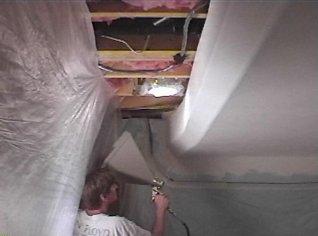 |
Now for the texture. This involved
using compressed air and this "hopper gun" filled with joint
compound to spray globs onto the drywall surfaces. This is a messy
job, so we created huge tents out of plastic to prevent joint compound
from getting everywhere. |
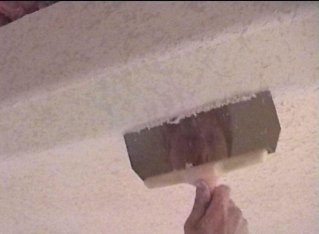 |
Next, the globs are flattened lightly with a
broad taping knife to make a subtle but readily apparent texture.
This is the same technique as on the walls, and it greatly enhanced the
painting later on - even giving the fish a more
interesting look close up.
The reflection proves this is either me or a twin.
|
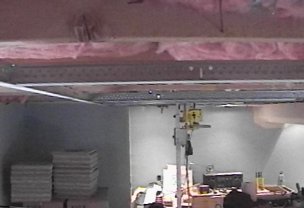 |
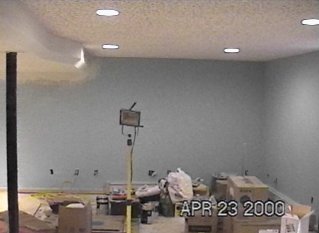
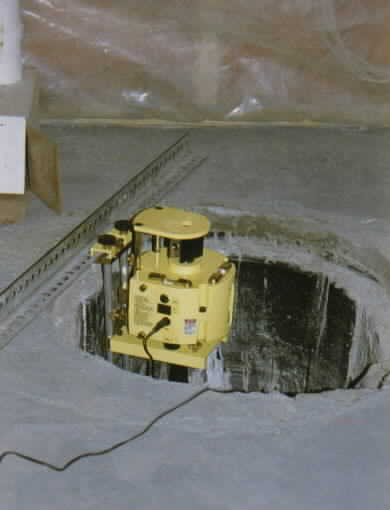
Now for the ceiling grid. The yellow
thing on a pole is one of my favorite tools; the rotary
laser. the ceiling tiles are seen piled up at the left of the
picture. If I had a close-up, you would see that the grid slides in
a groove cut along the middle of each edge |
 |
As the ceiling tile goes up, the grid
disappears - replaced by a seemingly random pattern. By the way,
that horizontal rail (monorail) hanging from the ceiling is to mount very
interesting lights from a company called Tech
Lighting.
I need to point out that I pretty much killed my rotary laser
installing one of the three supports that hold up the monorail. I
had the laser nice and plumb underneath the support to mark exactly where
I would need a small hole in the ceiling tile, when the support hardware
fell four feet right through the lens of the rotary laser.
(ouch!) It turns out that the lens had simply come unglued.
After gluing it back and in a moment of panic, the folks at Laser
Tools Co., told me the secret to getting it accurate again. |
 |
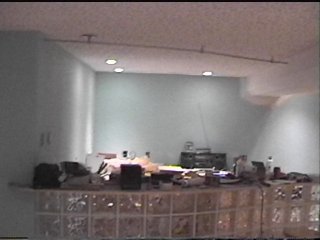
Here's the completed pre-painted view of the
TV area. |