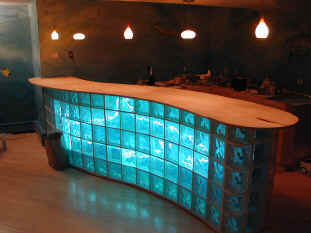
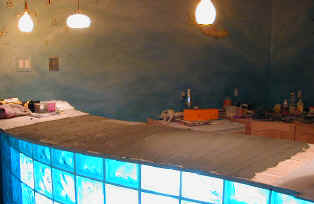
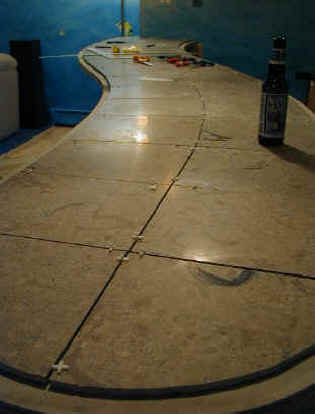
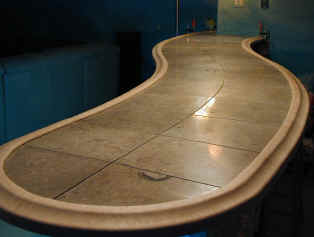
The bar tile top features two rows of tile arranged to curve all the way down
the bar.
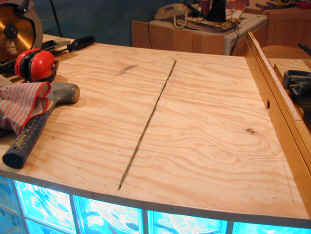
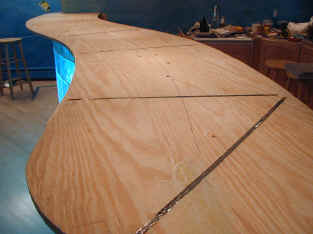
Here's the raw 3/4" plywood top at the start up the
project
The plywood is firmly anchored along the back edge to the
shelves, however the top was not rigid enough for tile due to the large
front overhang
The plan was to sink several steel "splines" into
the plywood top going from back to front to make it more stronger.
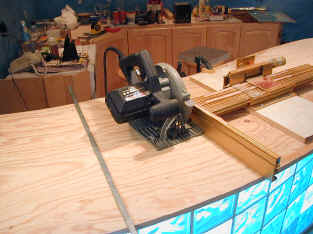
This precision router fence was used to make several cuts that would accommodate
the steel.
The cuts stop short of cutting completely through the top
and before the edges.
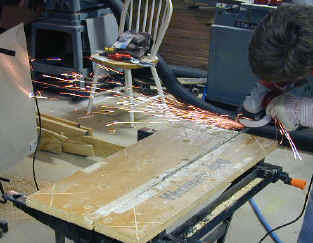
The the steel is ground to precisely the same height as the
depth of the cut in the plywood.
The steel is then forced into the plywood cut.
Five splines were used along the length at strategic places.
The next job was to laminate a cement backer board to the
plywood using thinset mortar. The backer board was something called
HardiBacker - a material that seemed much neater and more rigid than
WonderBoard.
The HardiBacker is screwed before the mortar sets up.
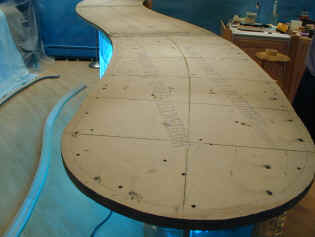
After the complete top is done, I drew the tile layout
directly on the top. I wanted very narrow joints between each tile
and the continuous joint that goes down the length of the bar is a curve
that will have to be cut into each tile.
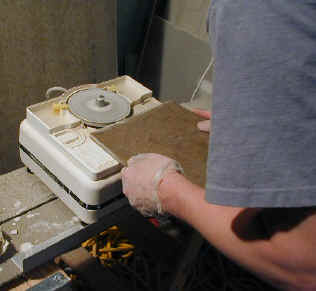
The straight and convex curves are easy with this machine -
a diamond blade wet saw.
For the concave curves, I used this nifty diamond wheel wet
grinder that was made for stained glass work. It's not very heavy
duty, but limestone is pretty soft and I took my time.
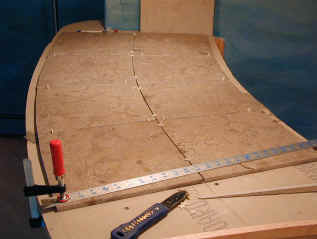
Here's the setup for marking nice straight lines on the
tiles. The metal straightedge is clamped across where the joint
should be and then the tiles are scored using a carbide blade scoring
tool.
You can see the special spacers being used to maintain a consistent
1/8" joint surrounding each tile.
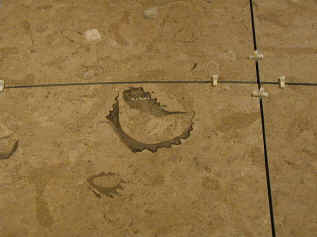
This picture shows more accurate color and a representative
"fossil".
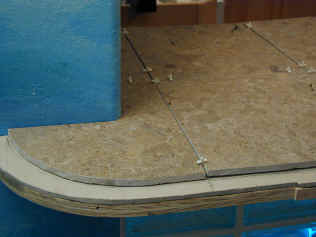
The outside edge of each tile is non-critical since it will
fit under the lip of the wooden railing that wraps everything.
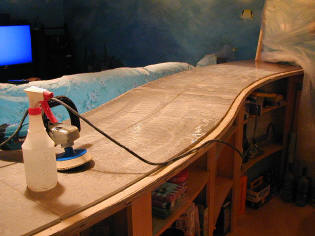
Here's the dress rehearsal before the railing goes on.
Everything fits and so it's time to mortar the tile into the
top and then cover them for the finishing stage on the railing.
The final touch was in removing the railing one last time to
grind the tops of the stone tiles to an even height.
Atlantis website copyright Jim Rutherford 2000-2016