This page has some of the "rough" work that was done in those
first two years. There aren't too many pictures since I had no idea at the
time how important "before" pictures would be. Anyway, here's
what there is on reinforcing the beams, removing / moving lally columns, and
moving ductwork.
|
 |
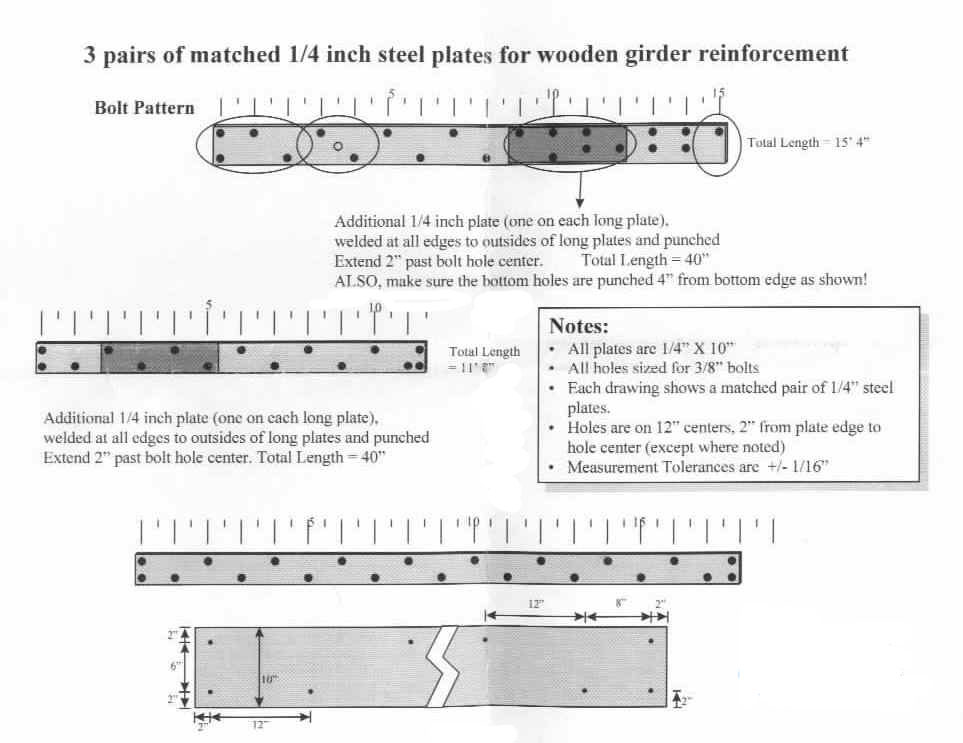
Here's a scan of what I gave the steel fabricators based on recommendations
from several structural engineers. The idea is to sandwich the
existing wood beams with quarter inch steel plates so that I could remove
two lally columns and move two others. This really is a room built
around a pool table!
Click on the image (originally from MS PowerPoint) to enlarge.
|
|
|
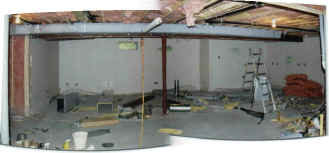
Here're three friends that helped hoist the plates into
position. Thanks Pete, Joe, Morgan and Woody (not pictured) for
pitching in. Note the long drill bit coming from behind This
precision drilling was done by eye for each of the many bolts that
complete the sandwich. Joe (middle) was the structural engineer with
the original idea for this non-intrusive method of supporting the house
without taking the first floor apart.
By the way, this picture was shot under the future location of the "Diagonal
Wall". Their hands practically mark where the grouper is! |
|
|
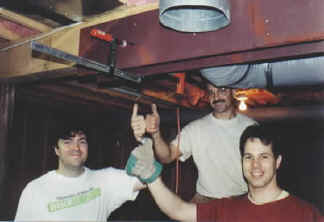
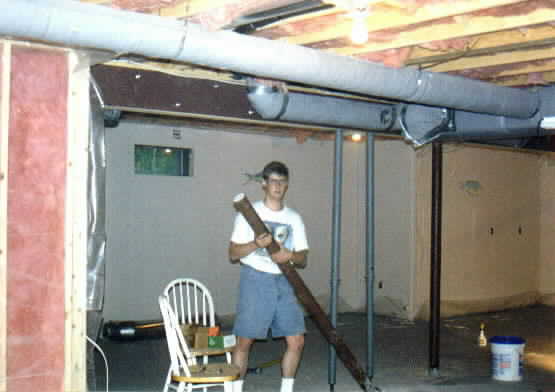
This leads us to the "moment of truth".
Removing the now unnecessary columns out from under the steel.
First, two temporary columns (in blue-gray) are used to take the house
load off. Then each column was cut at its bottom completely through
the steel jacket, and the concrete fractured at the same point with
repeated blows from a sledgehammer. After about 5 minutes of full
swings, the column would come out and the temporary columns removed.
2 years later and no problems - even with significant snow loads
channeling down through these beams.
Note how the ductwork is sprawled everywhere in this basement. At
its worse point, it came under the other beam and made for a 5' 8"
head bumping passage - totally unacceptable... |
|
|
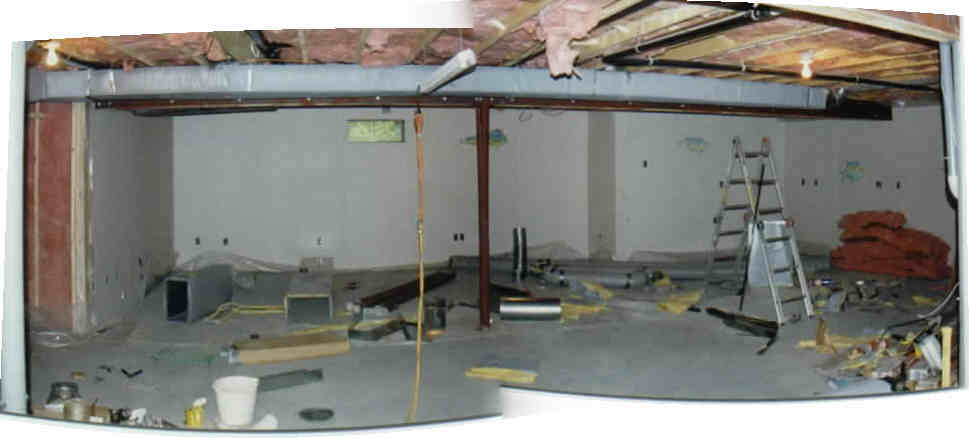
The next task, therefore, was to rebuild the ductwork system
so that it was as unobtrusive as possible. I decided to route it
just inside the wall for the bathroom so that it was part of the wall -
forming a soffit in that room and then emerging as part of the beam that
needed to be covered anyway. In this way, I would have plenty of
clear ceiling space in the middle of the two main sections of
basement. If you click on this image to enlarge, play particular
attention to the sprawling mess of ductwork tools, scraps, and insulation
bits. |
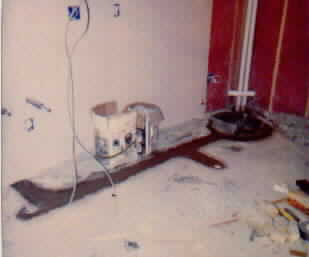 |
This picture is what is behind the bar for
plumbing infrastructure. The fresh concrete shown is covering the
drain pipe from the sink to the pump basin sunk into the floor three
feet. The vertical pipes on the right side of this photo are 1) the output of the
pump that pushes the drain water back up to the level of the house drain, and 2)
the vent pipe for the basin itself which ultimately runs up through the next two
floors of the house and ties (in the attic) into a venting system through the
roof. |
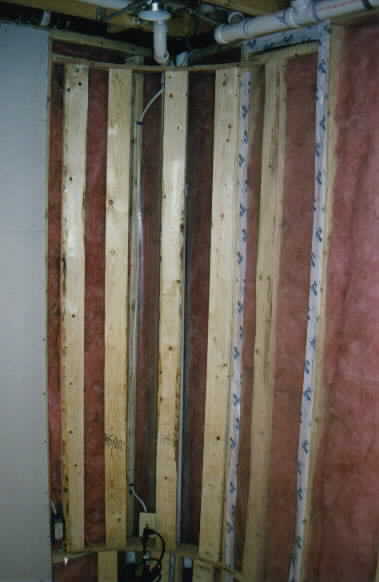 |
These two pipes in the corner were then
covered framing for a rounded wall which carries the rounded theme of everything else
(curved bar, curved landing, curved hardwood floor border, bullnose rounded
corner bead,...) |
|