 |
Here is the objective: Create
stair treads that integrate with the birdseye maple flooring and
deliver the contemporary, curvy, underwater feel that goes with the
theme. No classical architecture allowed! Since these
would no doubt be a focal point, the glue line between the tread and
the mitered return (The side of the tread where you would otherwise
see end grain) must be perfect. The usual ways of doing this
are extremely inaccurate, so I decided to devise my own using a
router and jig. |
 |
First, each tread was glued up from a
single board that was purchased "in the raw". By
milling and jointing the boards myself, I could control how the
grain was matched and where on the finished tread the natural
variations in the wood would show up. I don't have any
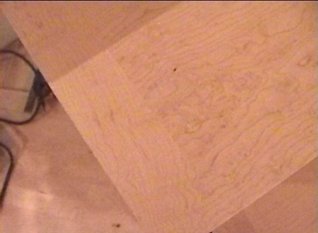
pictures of that, but here's one of the enormous pile of shavings
that was created by taking the 1" wood down to the 3/4"
after gluing. |
 |
Next, the tread was mitered to receive
the "return" on the side so that no end grain is
seen. Obviously, doing these two cuts on a tablesaw is dicey
since the circular saw blade cuts further into the wood near the
table than at the top. The standard way around this is to cut
as much as possible on a table saw and then finish the cut by
hand. the result is usually less than perfect, and for this
reason the modern stair parts mills use routers (or shapers).
You can spot this in a stair tread by examining how
"sharp" the two cuts intersect. Is there a radius to
the intersection? I decided that a tight joint with a small
radius is better than the classical - but sloppy - sharply
intersecting cuts done with a handsaw. |
 |
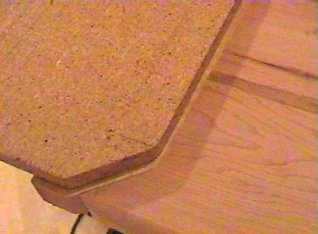
Not having the computer controlled
routing machines that the factories have, I used instead a router
"collar" (it's that brass ring mounted in the base around
the shank of the bit. Click to enlarge the picture if you need
to) This particular one is perfectly matched to the router
bit. The collar rubs on a pattern clamped to a piece of wood,
and the bit cuts the wood to match perfectly. All that's
needed to make two perfectly joining pieces of wood are two
perfectly joining jigs to act as patterns: |
 |
Here's the first one, laying on top of
a tread that is already glued. |
 |
And here's the jig for the mating
returns. These two boards are used to create all of the treads
and returns ready for gluing |
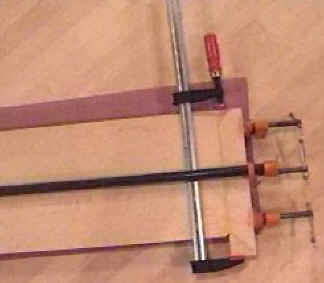 |
Here is a tread and return clamped up
while the glue sets. You can clearly see (because of the glue)
the mitered piece on even the back of the tread return. What a
detail! |
 |
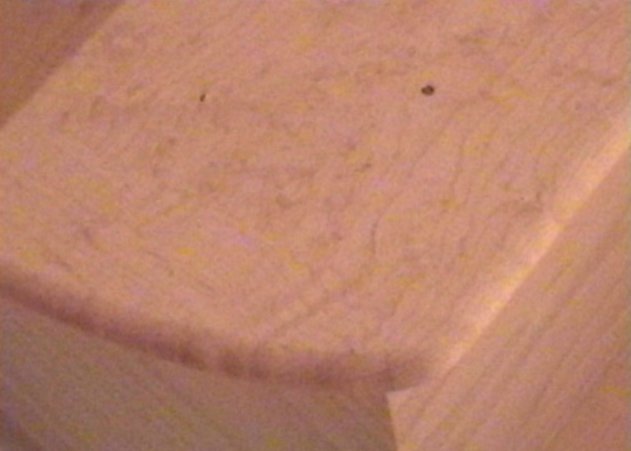
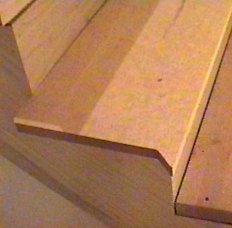
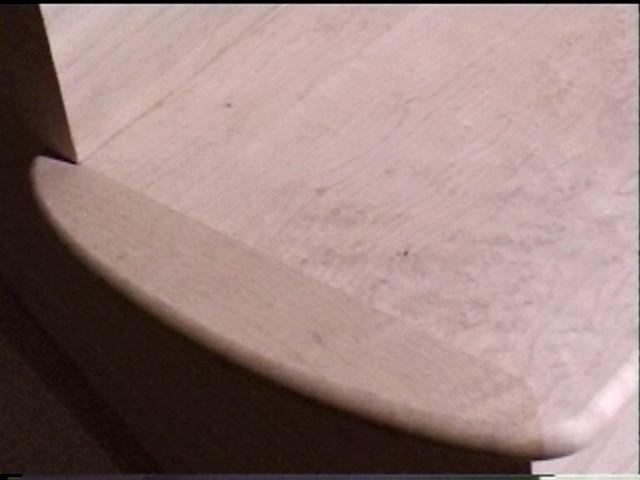
When the tread is sanded the glue line
disappears. This is the general shape that almost all treads
have before they get rounded over on the front and side (called
"nosing") |
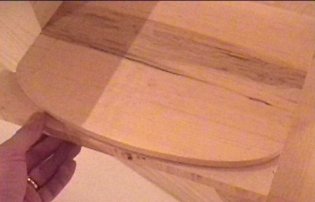 |
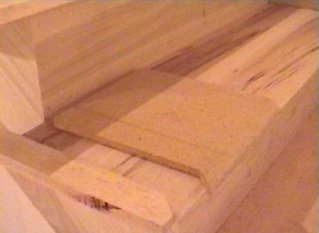
Instead, I created an ellipse to treat
the end with. The really, really astute reader would notice
that my returns looked way too wide - this was on purpose to accommodate
the curve. |
 |
A couple of passes with the router and
we have a pretty nicely shaped tread. |
 |
I had a single casualty with the router
when I hit a weak spot on the wood. It broke so cleanly that
the line was completely invisible when the two halves were pressed
lightly together. I glued and clamped it back together and I
can't find the line today. |
 |
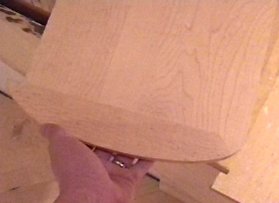
After rounding over top and bottom to
create the nosing, this is the result. |
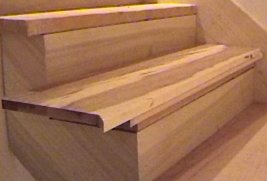 |
Indecently, we nicknamed this
controversial tread the "Swordfish Step" because of the twin dark streaks
running across. Do you know that dark area that you sometimes get in
swordfish steaks...?. The board
that we used had a boring light side, but I thought this side was
far more interesting |
 |
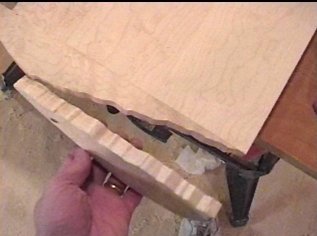
Here's the swordfish step as it is
today. |