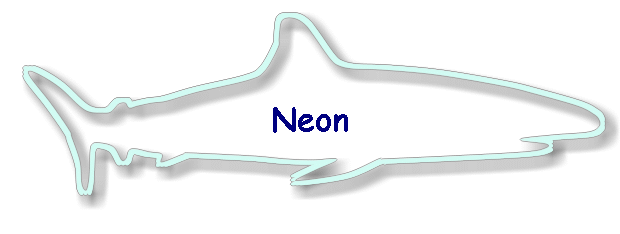
 |
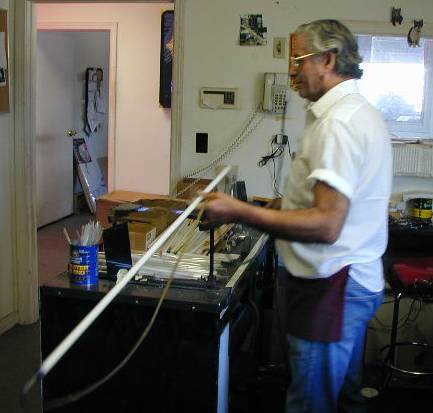
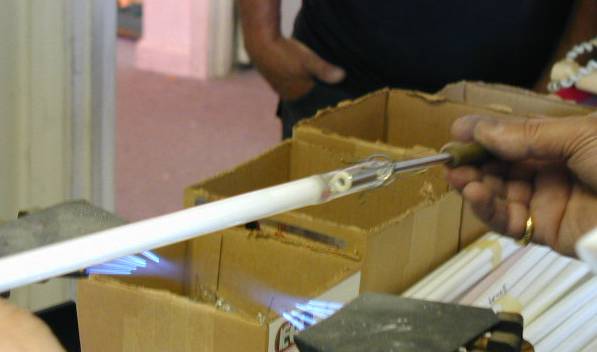
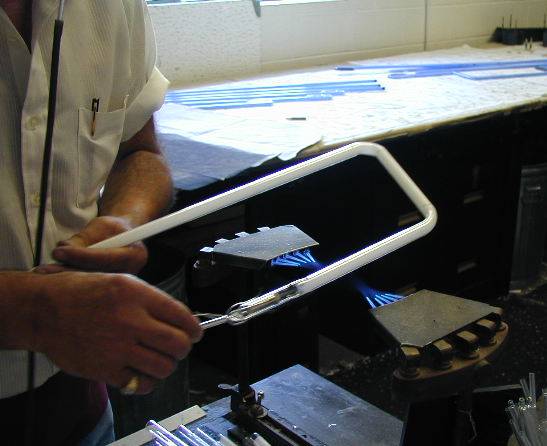
This, as you now might know, is Charlie from Custom
Neon Sign. Charlie is about to take that straight piece of glass tube
and bend it around into some kind of trombone-slide shape. He has a
flexible tube in his mouth that is connected to one end of the glass tube
that he is working on. This allows him to put the inside of the tube
under just enough pressure that the tube will not collapse even though it
has been heated to a molten temperature. |
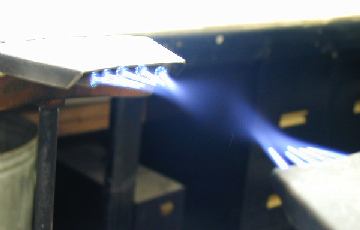 |
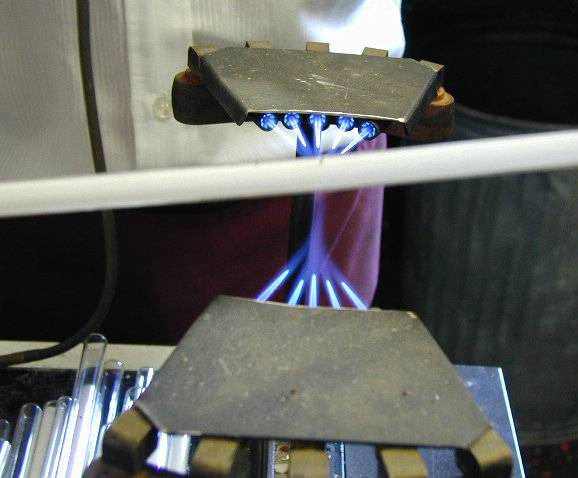
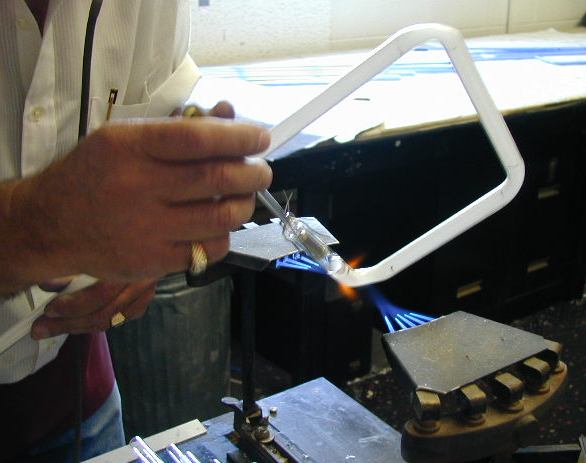
Here's a close-up of the gas jets that heat
the tube fairly evenly around. I forgot to ask if this is propane or
MAPP gas, but I suspect that nobody out there cares! Just don't
touch it. |
 |
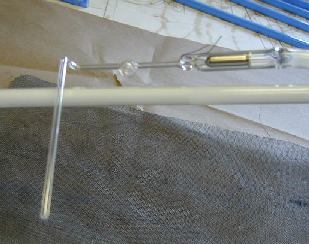
To the right are glass tube blanks, and in
the boxes at left are the electrodes that form the ends of each
tube. The electrode is a glass end with a cone of metal inside
connected to wires leading out the end. Even though each has two
wires, it is still one electrode (Just like fluorescent tubes).
IMPORTANT: The electrode end also has another task. In between the
two wires of one of the electrodes is a small glass tube that forms the
port where the air can be evacuated and argon added before it is sealed
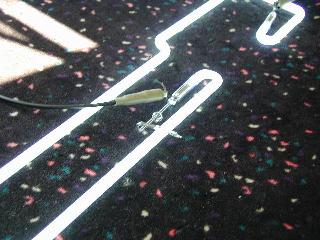
up. You'll see this later on in the page. |
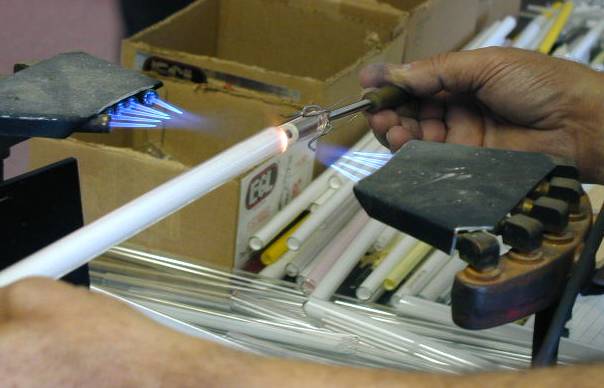 |
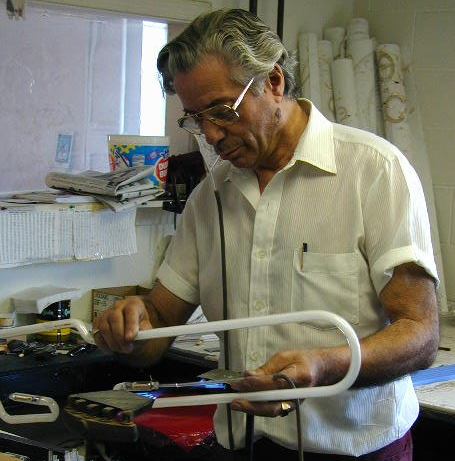
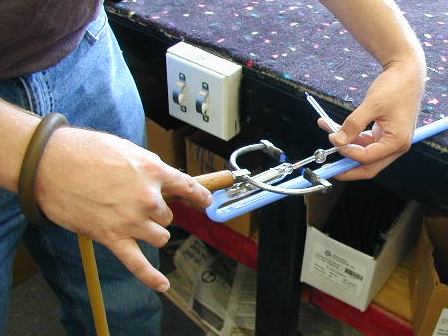
Using a special holding device, Charlie
attaches the closed electrode end by heating up both parts and then fusing
them together. The other end has the electrode with the glass port -
right now used for the mouth tube. |
 |
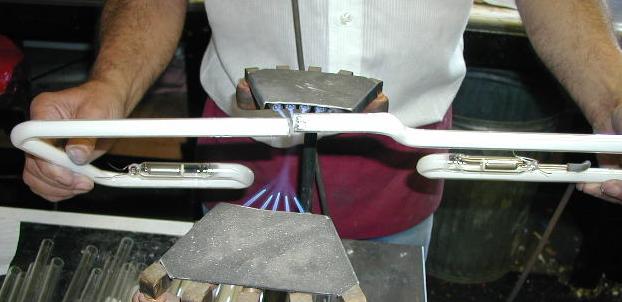
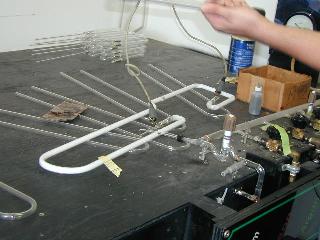
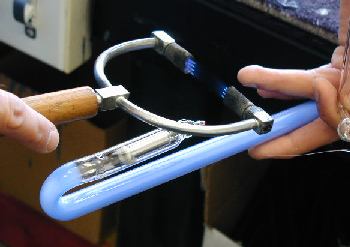
The finished joint - straight and smoothly
formed. It takes what seems like about 5 seconds for the joint to
stop being wiggly. On bends, this is just enough time to bring the
tube over to the workbench and line it up with the scale drawing of how it
should look. |
 |
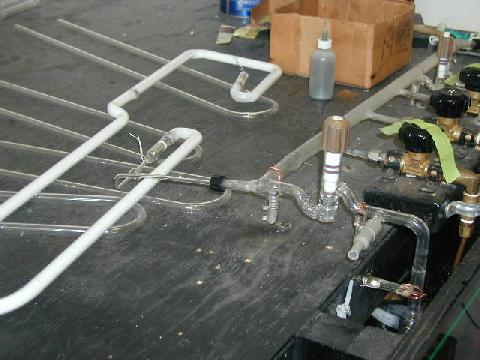
Although it is tough to show in still
pictures, Charlie is moving the tube left and right to evenly heat up an
area several inches long. At the right temperature, he will smoothly
and expertly bend the tube on its way back to the bench for lining up,
cooling, and planning where the next bend is. |
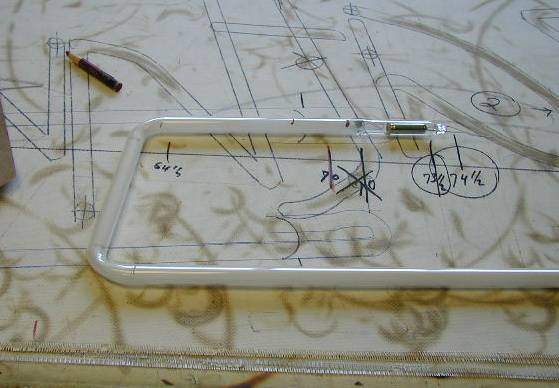 |
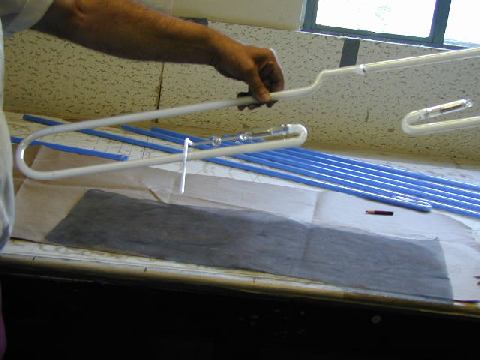
On the bench, you can see the special fibrous
paper that is used to draw on. It is resistant to burning,
but can be easily drawn on to make the scale model or plans. |
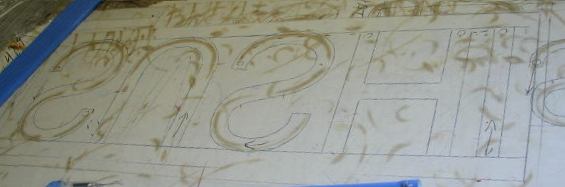 |
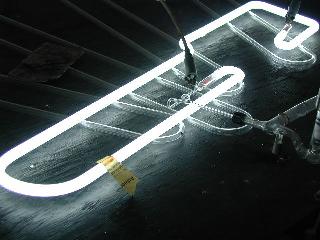
This drawing is to a different project.
Can you read it? It is a sign that will say,
"SUSHI". The sign is drawn backward, because the tube is
bent so that the flattest part is what you view as if in a store
window. The opaque bends that bridge each letter are then behind the
sign. |
 |
The final bend at each electrode is usually a
tight bend out of the way. |
 |
The end will ultimately be coated with an
extremely thick, opaque paint so that the lit tube appears to end just
before the bend that Charlie is halfway through here. |
 |
As a final step in the tube bending, two
finished halves are fused together. I think this is probably easier
to get the overall proportions right, but I didn't ask. |
 |
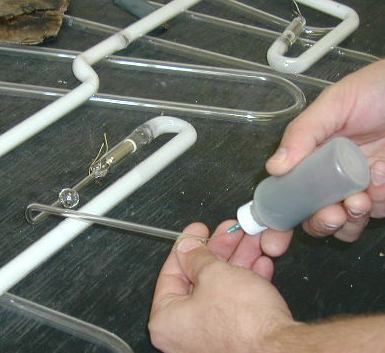
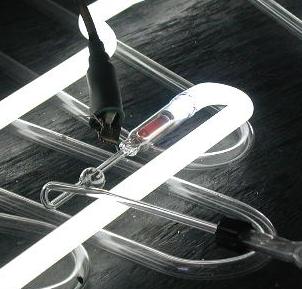
Now Charlie can prepare the thin sacrificial
glass tube for its use in evacuating and refilling filling the finished
otherwise-sealed tube. In this picture, he is in the middle of
severing the glass tube and then fusing a special end. |
 |
The special end features a small glass bulb
holding area (You'll see why later), and a couple of bends that make it
easy to attach to the gas filling equipment while it is lying flat down on
a bench. |
 |
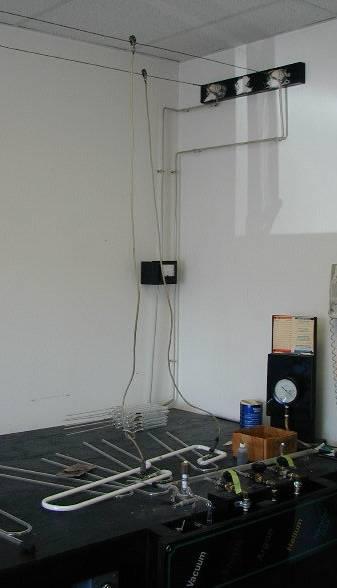
The tube is now ready to go on to the next
stage. |
 |
This is Scott, and besides being a talented
artist, he is the person that completes the neon process. |
 |
Step one is to place a single small drop of
mercury into the glass port and drop it down to the glass bulb area where
it will stay until needed later in on after sealing the tube but before it
is resealed off the end. This will become clear later.
The clear glass U-shaped tubes on the bench are there to provide a heat
resistant stand-off so that the soon to be very hot tube doesn't burn the
workbench.
Note the two wires plainly visible on the electrode. By the end,
this will be the only thing sticking out out of the end of the sealed
tube. |
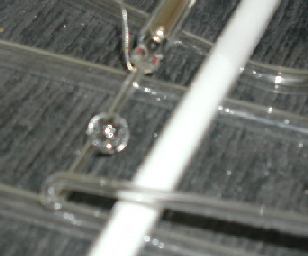 |
The mercury drop is now in the glass bulb
area. |
 |
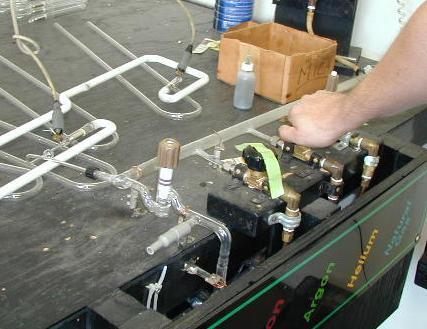
The entire tube is connected to a gas
manifold that consists of a vacuum pump and several types of gasses all controlled
through valves. |
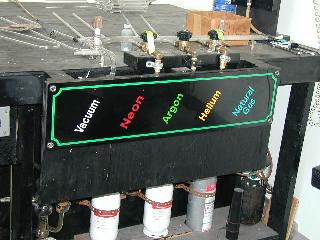 |
Each valve is labeled as to which gas will be
filling the finished tube. Neon would contribute the classic red
color when lit. Argon naturally gives a green light. The
dozens of possible colors in signs are created by combining these gasses
with different phosphors on the glass tubes.
Note the tape over the two valves that won't be used for this filling.
The air inside the tube is mostly removed by the vacuum pump leaving
very little behind |
 |
I'm pretty sure that this is the apparatus
that was used to spark life into Frankenstein. The tube is hooked up
to an extremely high voltage source (Much higher than what is ultimately
used) that will provide what is called the "bombardment"
stage. There is a vacuum gauge on the right to indicate how much air
isn't in the tube, and a current meter on the wall in the corner to show
how much electricity is flowing through during bombardment. |
 |
Just before bombarding, Scott takes a strip
of paper from a newspaper, creases it, and lays it over the tube. |
 |
"Temperature gauge!" he says.
the paper will start to burn at about the right temperature where the
impurities inside the tube are burned away - much like a self cleaning
over. It occurs to me that this is the best use of the Boston Globe
editorial section. |
 |
This is where things get exciting.
Scott carefully administers an extremely high voltage to the tube which is
currently under a partial vacuum. The voltage is so high that it
still passes significant current - electrons whizzing through and
colliding with the few remaining air molecules, impurities, and possibly
mercury vapor? There is no argon or neon in there, yet the tube
still glows pretty brightly and gets downright hot. (Note the
browning strip of paper) The loud hum of the electrical panel
reminds us not to come close to those wires. (Actually the location
and mechanics of the switch dictate that it would be difficult to
simultaneously hold the switch in and touch the bare wires. |
 |
According to Scott, bombardment nirvana is
achieved when the paper browns and the electrodes glow cherry red.
That's when all of the impurities have been burned away. Scott tries
to get both of these to happen at the same time by modulating the amount
of vacuum applied while the current is heating the tube. My guess is
that more vacuum heats the electrodes, while less vacuum heats the
glass (Since there's more in the tube to collide with the
electrons).
I'm also guessing that this stage also accomplishes a significant
"annealing" of the glass. Heating up just shy of the point
where the glass flows and keeping it there for some time allows the
internal stresses of the glass (introduced during bending) to work
themselves out, thereby making the tube MUCH less fragile. In hot or
warm glasswork, this is done in a kiln. |
 |
After a cooling period, Scott fills the
vacant tube with Argon. The special thin filling tube is then
severed off close to the manifold in such a way that the tube is
sealed. |
 |
Now, over on another bench, the normal neon
transformer voltage of ~7000 volts is applied during a "burn-in"
period of several minutes. I'm not really sure what this
accomplishes. Now for the mercury part: That drop of mercury
is still in the glass bulb. With the power off, Scott manipulates
the tube so that the mercury blob rolls down the entire tube, gets on the
far electrode, and then rolls all the way back and back into the near
electrode. The result is that trace amounts of mercury coat the tube
and electrodes, somehow making the tube much, much brighter. |
 |
Now using the portable torch, the special
thin filling tube is simultaneously severed and sealed relatively flush
with the electrode leaving just the two wires out the end.
Yes, I know that this is a different tube than the one we've been
examining. |
 |
The finished end, ready for painting and
mounting. |