|
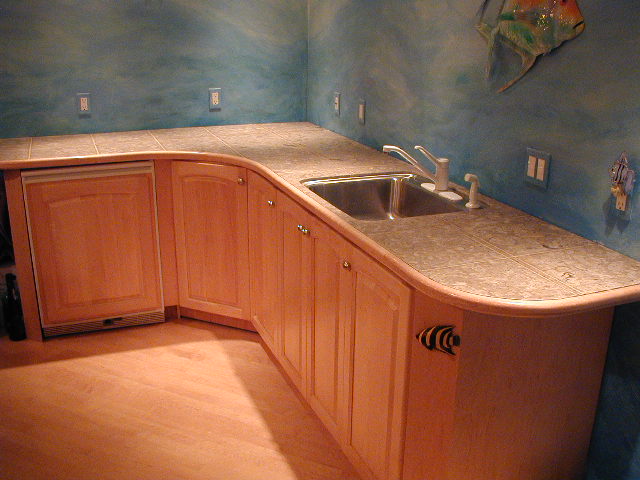
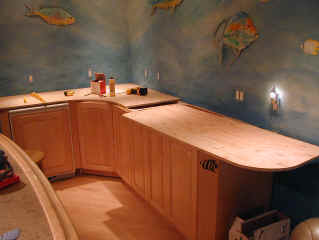
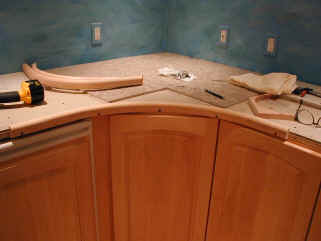
Here's what the countertop area looks like
currently. I figure I still need a backsplash, but there's plenty of
time for that.
I decided to make the countertop out of the same limestone tile that I
used for the bar.
One of the big things to note here is how the wood edging wraps
seamlessly around the corners. Much of this page is spent on the
bent lamination technique used to bend the birdseye maple around that
tight radius. |
 |
The first step is to create the plywood substrate with
smoothly curving corners. |
 |
Next, a cement-based board called "HardiBacker"
is laminated to the plywood with mortar and screwed down. This makes
a very rigid, superior base for the mortar that holds the limestone
tile. Note how the sink is "sunken" into the countertop -
more on that later. |
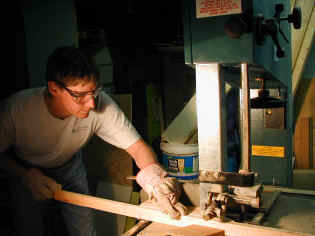 |
After the countertop is roughly prepared, I needed to
create the trim edging that will wrap completely around the top. To
bend the wood around tight corners, I chose to use the bent lamination
technique where a solid piece of wood is cut into thin slats
on a bandsaw and then glued back together around a curved form or
jig. A tablesaw is not
good for this operation because it wastes so much wood in the
"kerf" - the path of the saw blade itself. |
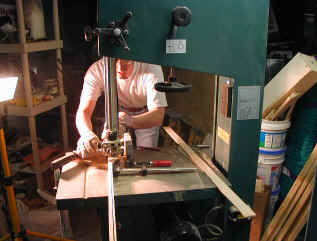 |
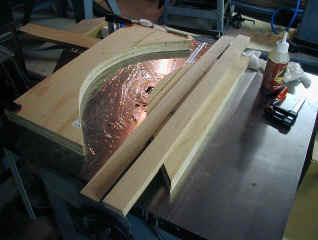
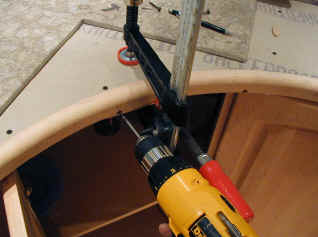
Lying on the bandsaw to the right in the picture is the
first of the slats, as I cut the second. Note the use of a
"featherboard" clamped to the table and under my right
hand. This shop-made wooden spring keeps the board tight against the
fence for an accurate cut - allowing me to concentrate on feeding the
board smoothly into the blade. |
 |
After each slat is sanded to remove saw marks, the pieces
are assembled in order and ready for gluing in the curved jig. |
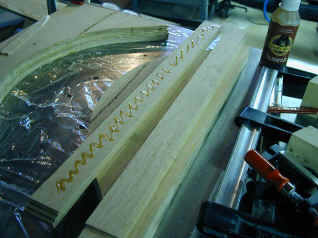 |
Each piece gets glue on one side. This particular
waterproof glue is self-spreading and will completely fill the joint. |
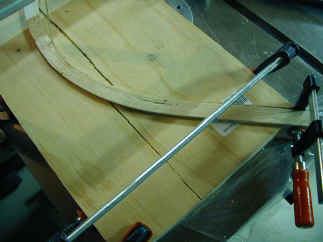 |
The jig is then clamped together and the glue is allowed
to set. |
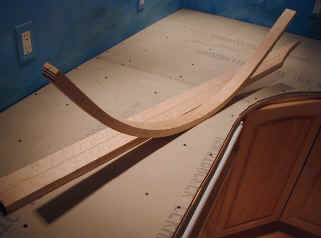 |
Once cured, the resulting curved board springs back very
little, and is now even more rigid than the original board. After
sanding and shaping, the joints pretty much disappear. |
 |
For a shape, I decided a simple rounding over and under
would blend nicely with everything else in the room. I drilled and
countersunk holes every eight inches or so to attach the trim to the
countertop. These holes will be filled with plugs made from the same
board and will also disappear once sanded and finished. |
 |
First piece on. The other two curves and straight
pieces go on in a similar manner. Don't forget to watch for the
screw holes to disappear. |
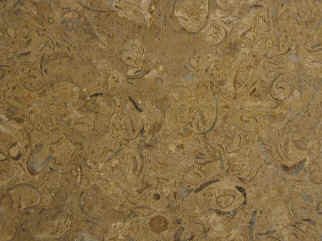 |
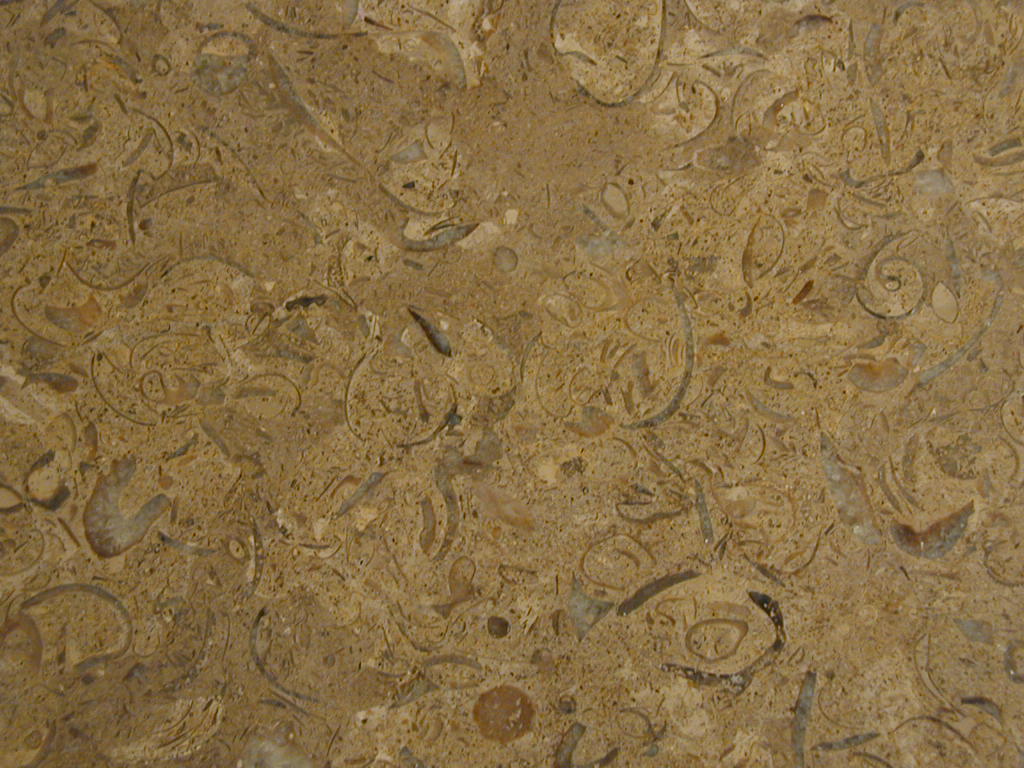
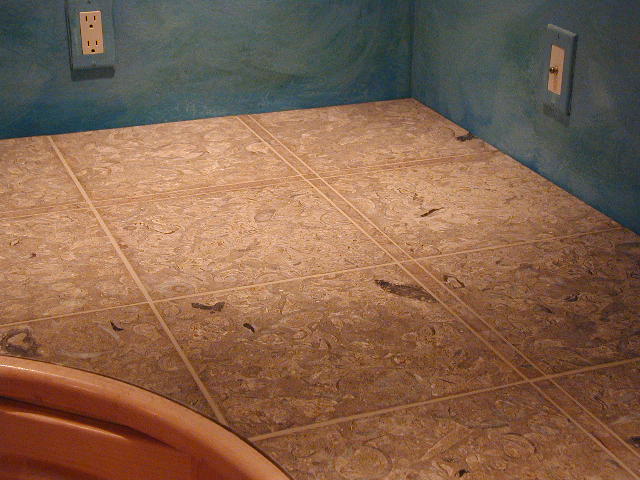
Now the tiling job could begin. Here's a sample of
one of the tiles. This batch came in with more figure than the batch
ordered for the bar. Too bad. I would've liked to have the
more interesting tiles right where you are more likely to be face down.
This is a great sample of "Cafe Pinta" limestone a.k.a "Fossil Stone".
You can click the image to see a much bigger picture. |
 |
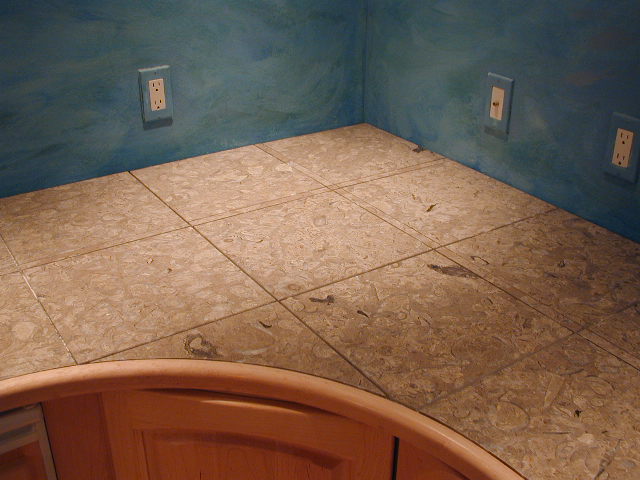
After tiling but before grouting: Notice that there
are no more screw holes in the trim and also note the extra one inch strip
of tile in the middle of the two rows of tile. This was more to make
the geometry work out than anything else. |
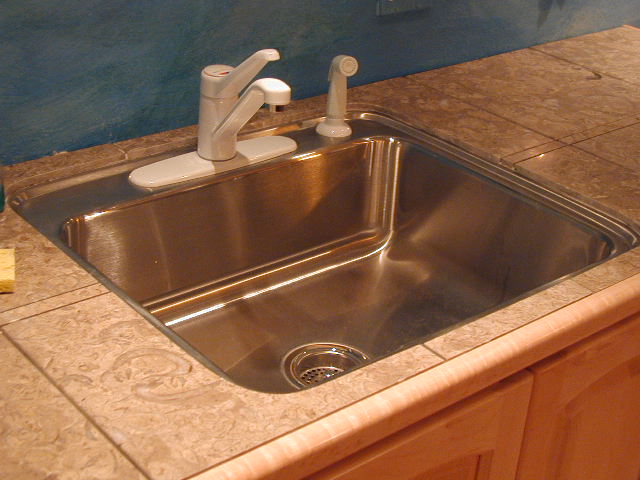 |
I hate the look of those "self-rimming"
stainless steel sinks compared to the under-counter models. For this
countertop, I I sunk the sink down so that I could run the stone tile
right over the sink rim. I could do this because instead of tile,
I'm using solid stone which can be cut, shaped and polished with any kind
of profile. The diamond grinder used to shape the curved bar tiles
was really useful here. |
 |
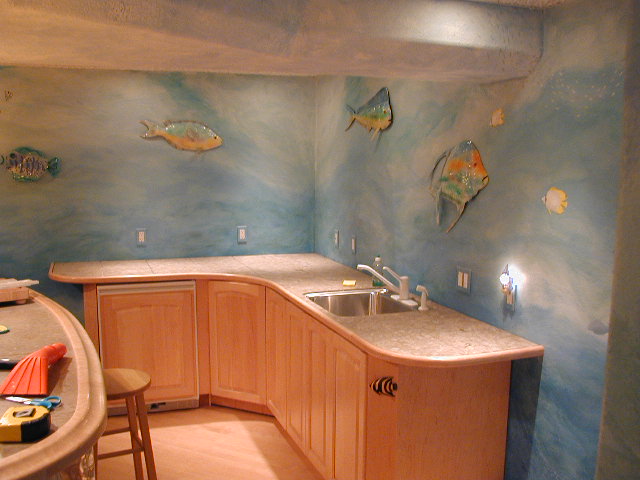
Another overview shot before grouting...
Click on the image for a larger view. |
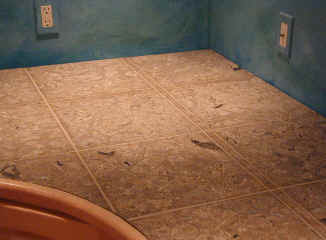 |
Here's the corner after grouting and after the finish has
been applied to the trim edging and buffed out.
Click on the image for a larger view. |
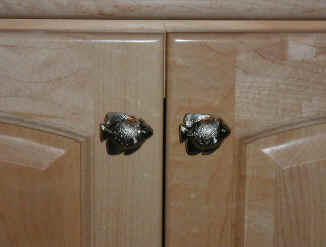 |
The finishing touch is a set of handles. |