|

|
The first of the secret weapons was a "rotary laser" that
painted a continuous red line around the room exactly where I wanted the floor
to go. This was therefore the "cut line" for any sleeper on the
floor. This is more clear in the photos below.
Here's the actual rotary laser, mounted conveniently into
the drainage basin so that the perfectly level laser line that it painted
around the room was at the subfloor level. you can click on this
image to enlarge it.
|
|

|
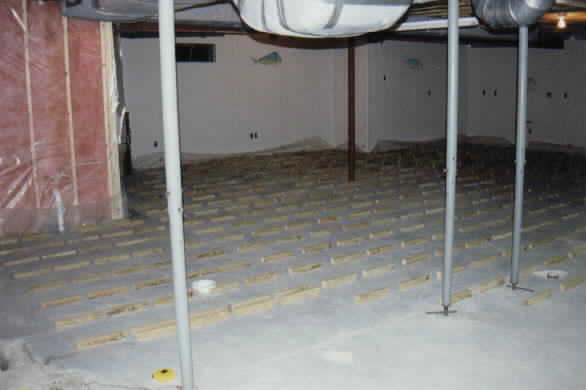
As seen from another angle, each of the wood blocks was cut
at the same level by noting the line where the rotary laser beam crossed,
cutting the wood on that line and then replacing the wood to the exact
position for fastening to the concrete slab. |
|

|
Here I am marking one of the sleepers prior to
cutting. This was one of my favorite photographs because in the
original you can clearly see the red laser line across my left hand
fingers. Lucky timing. |
|

|
This kind of tricky cut (each one custom tapered) could only
be accomplished safely and quickly with some kind of jig. In this case,
the jig is mounted to a sliding table that runs across the top of a table
saw. The jig accurately shows exactly where the blade will cut and also
holds the sleeper securely during cutting. To see a close up of this
insanely simple jig, click the image at left. |
|

|
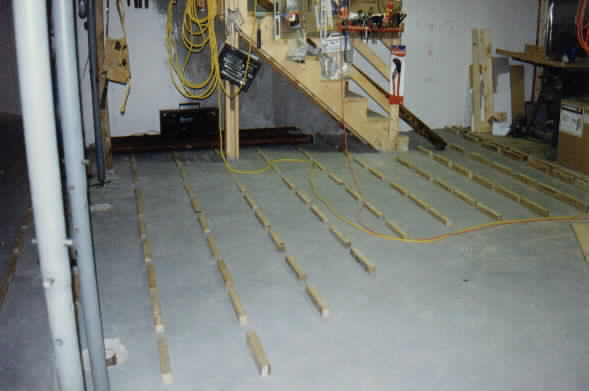
All of the sleepers were installed with construction
adhesive directly to the slab, but then a pretty healthy majority needed
to be nailed into the slab later after the subfloor pulled some of them
up. |
 |
Here's the finished product. To the
extreme left is bathroom and all the way on the right in the background is
the bar area. (outlets halfway up the walls.) |
 |
Here's a view of the stairs from the other
side of the diagonal wall. |