|
|
First each of the four legs was
glued and roughly shaped on the tablesaw. |
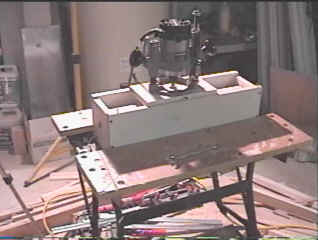 |
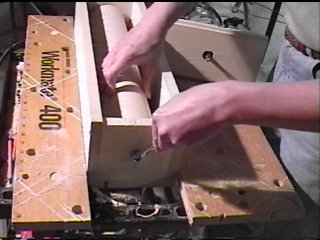
Next, the rough leg
"blank" was put inside a custom jig that is nothing more than
a box with lag bolts coming in from the ends and a sliding top that
forms a router base. I call this a poor man's lathe. Click
the image for an enlargement. |
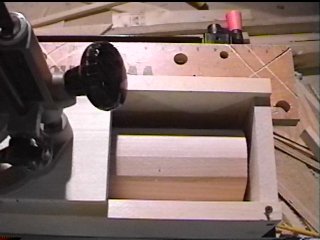 |
The leg blank is loaded into
the jig, and then the router bit is lowered to remove material as the
base is moved back and forth. |
 |
After each pass, the leg is
turned very slightly on its axis so that the router has new wood to
remove in another back and forth. |
 |
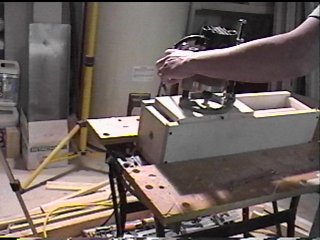
After many routing passes, a
smooth rounded shape is developing. |
 |
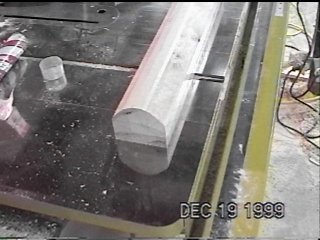
Now after removal of the leg
from the jig... |
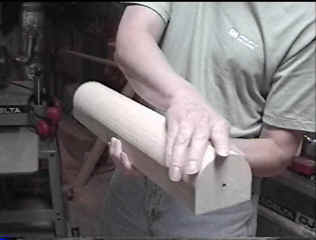 |
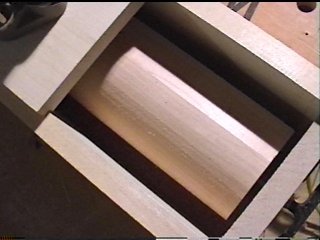
We are left with a nice smooth
"D" cross-section. The flat part where the glass block
will mount, and the rounded part will have aluminum bent around
it. Click on the image to enlarge. |
| (Your ad here) |
Unfortunately, I have no
pictures of bending the aluminum around the legs and then assembling it
with many biscuits to the rest of the frame. |
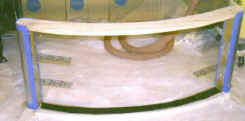 |
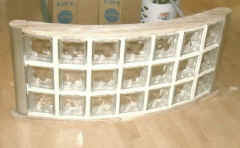
Here is one of the pedestal
frames, ready to receive the glass block. The bottom sill is made
of birdseye maple, but neatly coated with roofing cement to make a
better bond with the mortar. The metal brackets coming in from the
legs are to tie the legs into the mortar joints. Each leg is
covered with aluminum bent around the smooth curve of the leg, and the
blue strips are protective masking tape. |
|
|
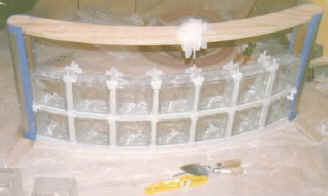
The same pedestal now has two
of the three courses of 6" glass block. The block comes from
Pittsburgh Corning and is their omnipresent "Decora" style. |
|
|
Now the block is all in, and
the protective tape is removed. The finished assembly weighs
roughly 100 pounds, and is extremely rigid. The jamb and header
joints still need to be filled with caulk, but this is far enough to
install the table. |
 |
Now repeat for the other side! |
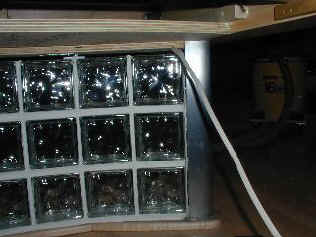 |
After the table installation, I
fished an electrical cable through the raised floor and up through the
pedestal. You can barely see the wire coming up through the maple
sill between the glass block and the aluminum on the leg. This
expansion joint will eventually be caulked white, so the wire will be
completely hidden, yet power a light (possibly neon) under the table. |
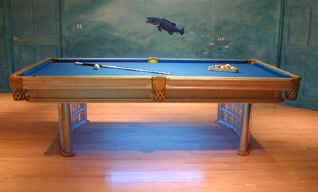 |
Here's the effect with a
temporary florescent fixture covered with blue tape. Pretty
dramatic! |