 |
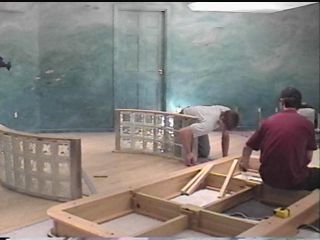
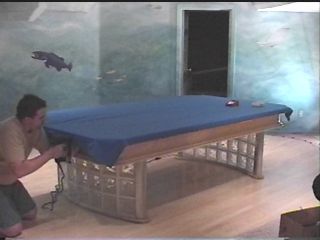
Things were a little chaotic at first, but we
figured out exactly where the pedestals looked best on the frame, and
started assembling the glue blocks and plywood that formed the mounting
point for the table. On the right is Greg, one of the installers
from Recreation World. |
|
|
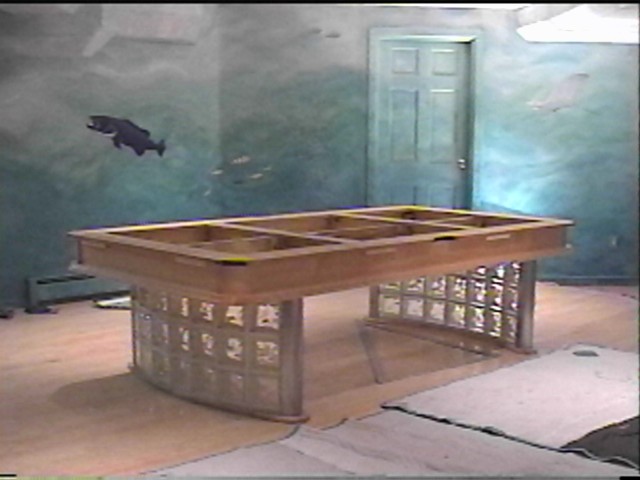 |
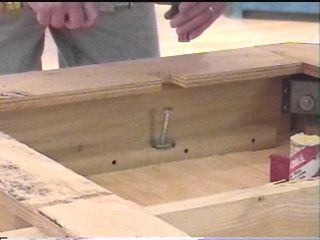
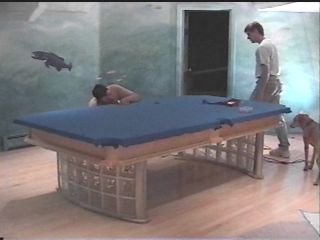
We set the frame on the pedestal and gave it
a rough leveling by shimming under the legs. Next, we need to
predrill and install a 6" lag screw through the frame and securely
into each of the four maple (covered in aluminum) legs on the glass block
pedistal. |
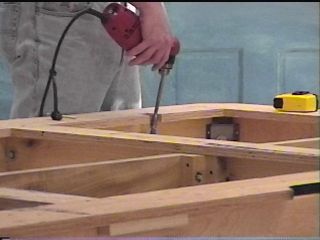 |
We needed to cut small notches on the top of
the frame to run the drill through. Each hole (and therefore
lag screw) is on a slight angle to catch the middle of the leg properly. |
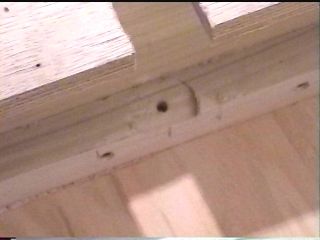 |
After the hole was drilled, I used a forstner
bit to create a flat surface perpendicular to the hole for the washer to
bear down on. Details, details... |
 |
Lag screw in place... |
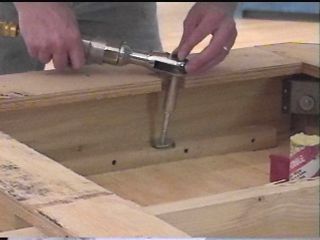 |
An air-ratchet moves things along quicker. |
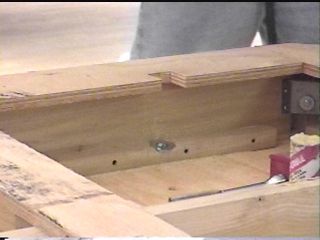 |
The finished screw. Four more, and the
table is going nowhere.
Now for the slate! |
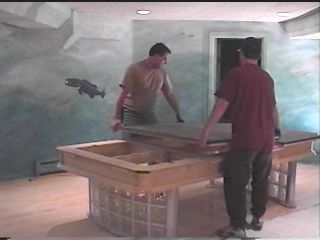 |
Kevin and Greg lower the 1" thick
"Original Italian Slate" onto the frame. The slate comes
in three sections and is screwed into the frame at assembly time. |
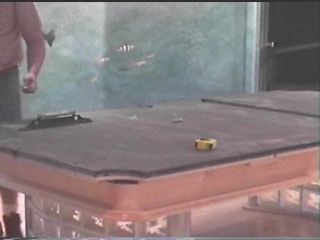 |
Notice the extremely sensitive Starrett
machinist level (on table at left) that is used to verify that everything
is level. Imagine, a tool that I don't have... Just a question
of time, I think. |
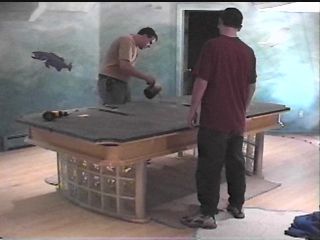 |
The slate sections are then seamed together
in a most clever way. Melted beeswax is poured in place and allowed
to dry in only two minutes. |
 |
The extra wax is then scraped off
completely flush. The resulting seams cannot be felt under the felt
even if you know where they are! |
 |
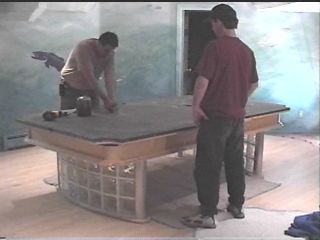
Things are really coming along now. The
Simonis felt is tacked along one end to the strips of wood that come
already glued to the bottom of the slate... |
 |
...And then stretched / tacked on the other
end. By the time the sides are stapled, the felt is wrinkle free and
tight. |
 |
Then the pockets get some extra cuts /
staples. |
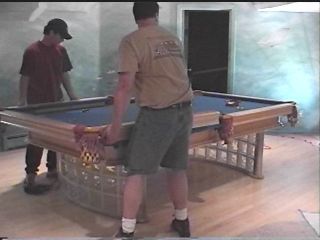 |
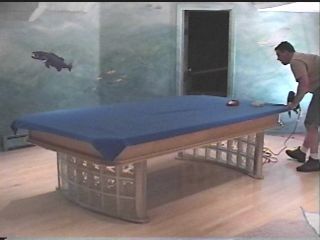
Next the rails, aprons, and pockets - already
assembled into two pieces - are joined together and bolted securely to the
table. |
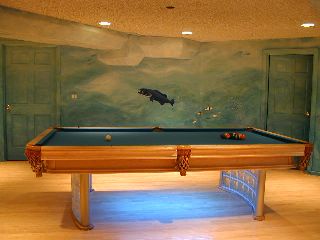 |
Voila' |
 |
The new pockets from RCDesigns were the final
step. |